Having
a very bad cold today and tired of sitting around and taking it easy;
why not get opt for masochism and turn a final cigar pen from
my from my dwindling pile of banksia pods leftovers. If this
craters, at least I will have an excuse.. ..
|
|
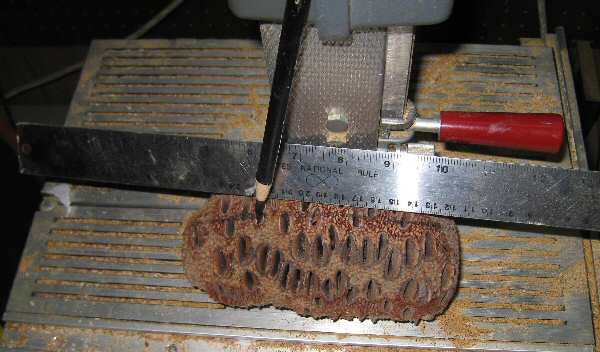
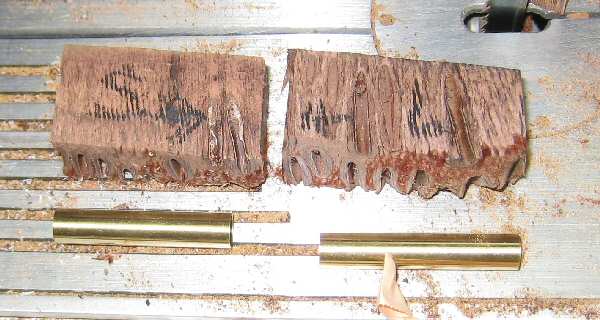
Banksia Pods are not that large so the first thing we want to look for is a short, squat pod which is a wide as possible.
The cigar pen blank is going to come from 1/4 of this pod so spend a little time getting the right pod.
Cut the pod right down the middle.
|
|
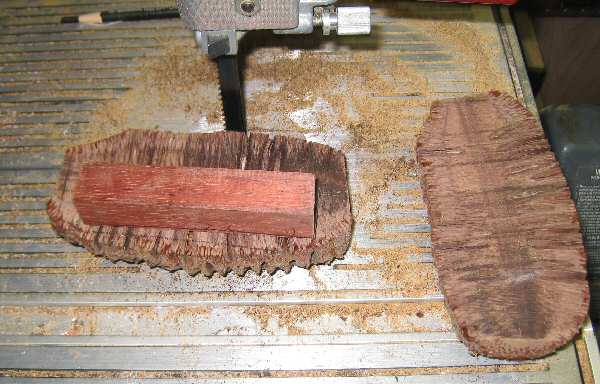
Use a spare blank to trace out a pattern. Stay as far away from the banksia pod center as possible.
It takes some eye balling to get this right.
What
happens if you get too close to the center which is solid, part of the
finished cigar pen will be solid and have no inlay at all.
The
other thing that happens is very small holes on one side the pod which
when finished looks more like a disease than an inlay.
|
|
There. Two sides are cut. This Banksia pod blank looks to have some promise, but there are some very wide holes.
This could pose a problem later on.
|
|
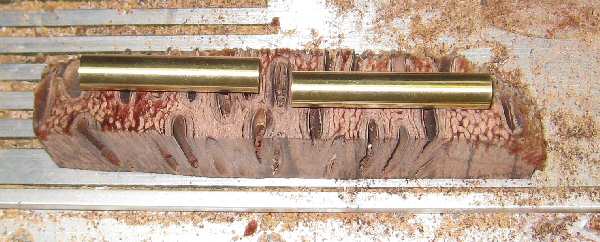
| This
doesn't look too bad. Move the brass around a bit, trying to stay
away from Banksia Pod seed holes at the ends of the blanks. |
|
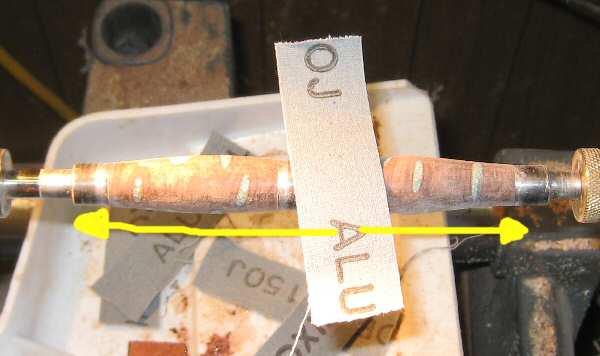
Ensure
you mark the blanks, indicating which are the short and long ends.
There is only a 1/4" difference between the two and it is
easy to mount them incorrectly if for example you have a bad cold and attention to the task at hand is marginal. |
|
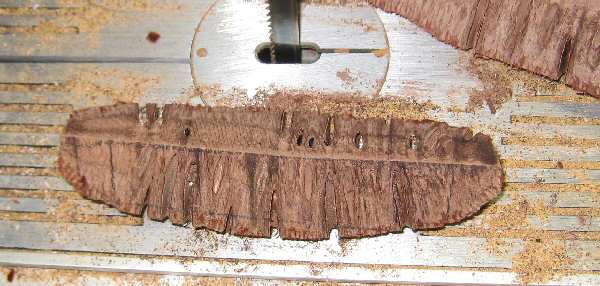
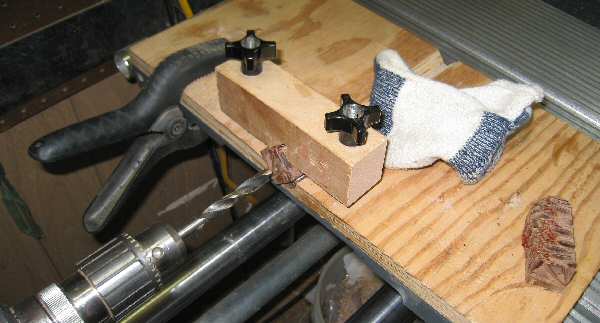
I usually cut a couple spares just in case. Sometimes these banksia blanks split into pieces when drilling them out.
Go easy with the drill.
|
|
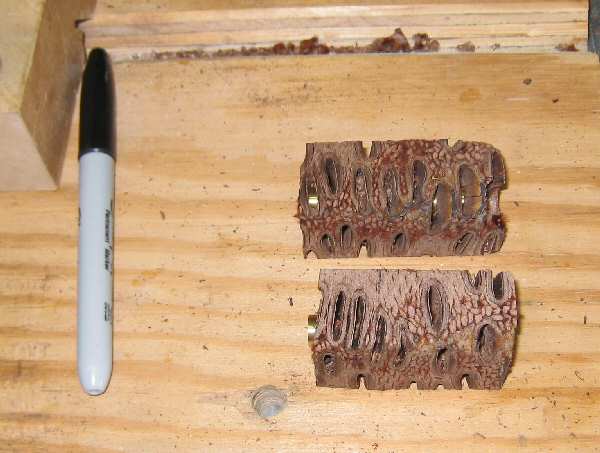
A lot of brass showing through those holes and depending on the inlay material used, brass showing through is not desirable.
|
|
| Use a sharpie or something similar to paint the blanks. It only takes a few minutes and can really make a difference. |
|
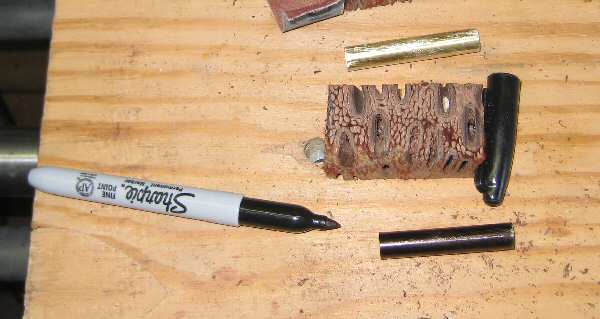
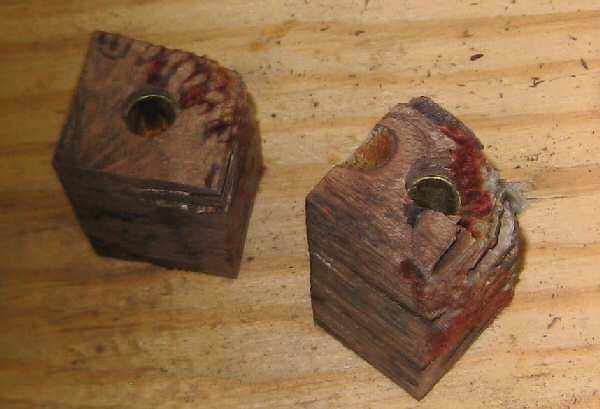
This is what I ended up with. I am going to mill these anyway and see how bad it looks.
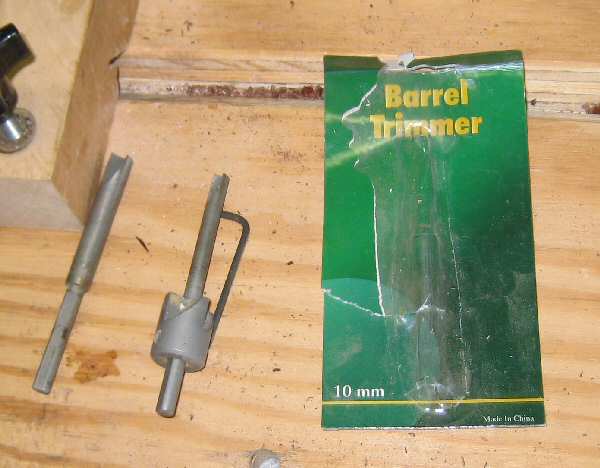
Another fantastic tool manufactured in China which actually works well. These can be obtained from Wood Craft and Pen State.
|
|
This doesn't look too bad. Hair on one pod and part of a seed hull on the other.
The
seed hull on the right poses the biggest problem. It looks solid
but it is not. Gouge into the area and you will find a
large large void where the seed was. This needs to be dug
out and filled with sawdust. Look carefully at the ends.
This is easy to miss.
|
|
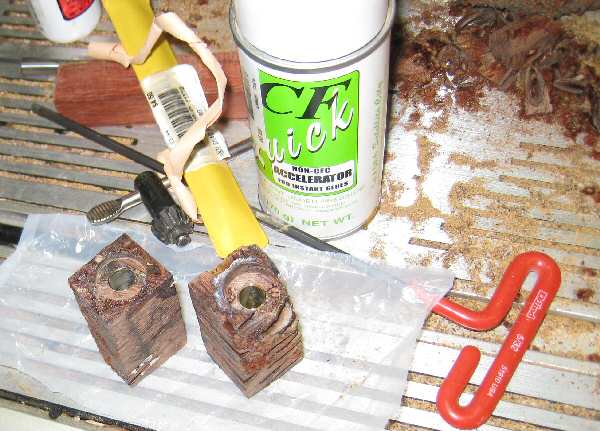
Fill the ends of the Banksia Pod blanks with sawdust and CA glue. Let it dry.
|
|
Accelerant is ok for use on the ends. Mill the ends down and examine again. Apply one more thin coat of CA glue.
Another potential problem has shown up on the right blank, upper right side. That piece is not hair thin, but it is thin.
We'll do some light turning and see how it goes.
|
|
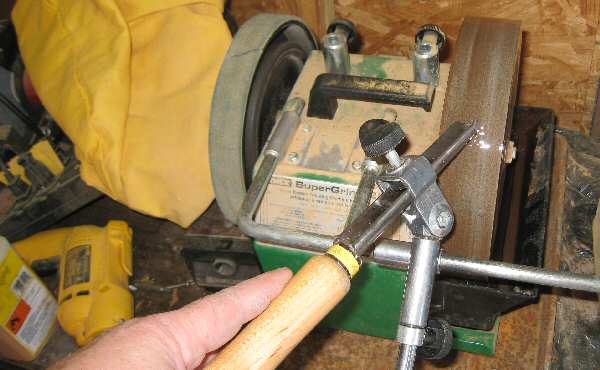
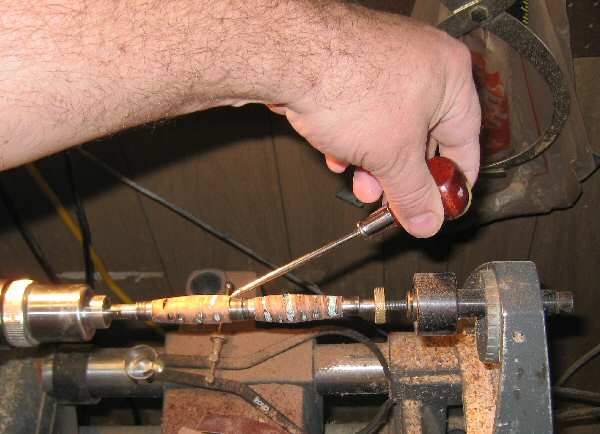
Banksia Pods are not very hard and relatively easy to turn.
However if a blunt tool catches on one of those Banksia Pod 'Lips', you can rip out a large portion of the pod in no time.
Trust me on this one.
Spend some time getting that tool sharp.
|
|
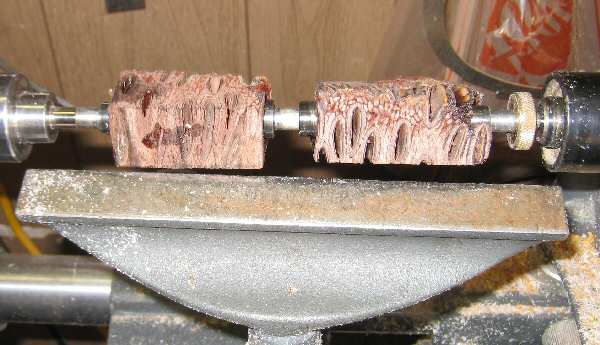
These Banksia Pod blanks are ready to be turned with the exception of one thing..............
What is the one cardinal rule in turning banksia blanks?
CA glue - and lots of it.
Put a drop or two of CA glue in each banksia seed hole where brass is exposed, let it dry and start turning.
|
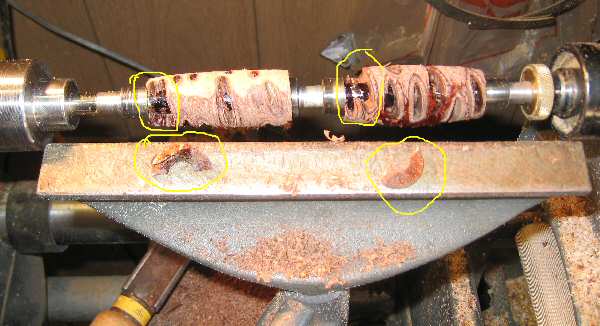 |
%&#!@!
(insert preferred expletive here) This was going very well
and then within seconds, I managed to blow up two banksia pod ends.
And.........I didn't cut any spare blanks.
|
|
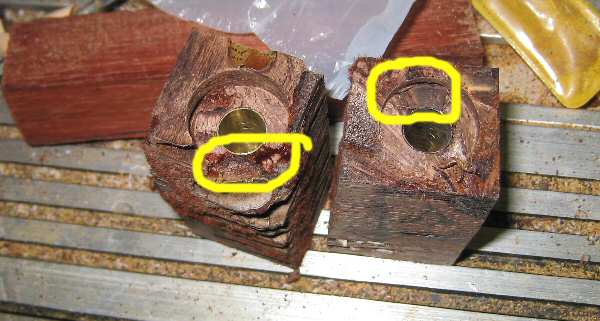
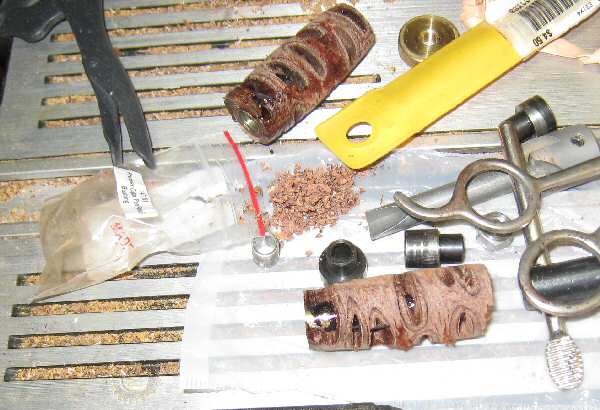
I
removed the blanks to have a closer look. I think this can be
repaired. You don't want to do repairs like this on the
lathe because odds are you will also end up gluing the blanks to the bushings and the bushings to the shaft.
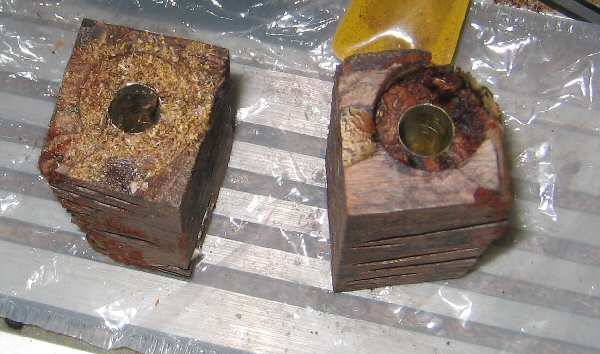
I filled in the gaps using pieces of pod and sawdust, re-milled the ends again and mounted them back on the lathe.
|
|
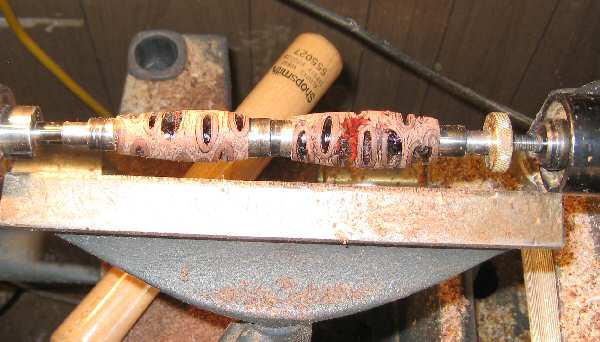
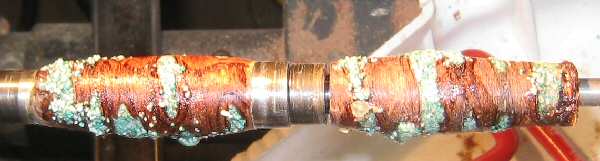
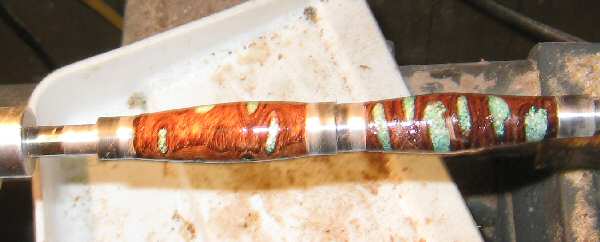
I also added more CA glue to the exposed holes and to the damaged ends. Initial turning looks pretty good.
Continue turning until until you get within a 1/8" or so of the desired diameter.
|
Add some inlay to bridge the holes and CA glue to stabilize the blank.
|

|
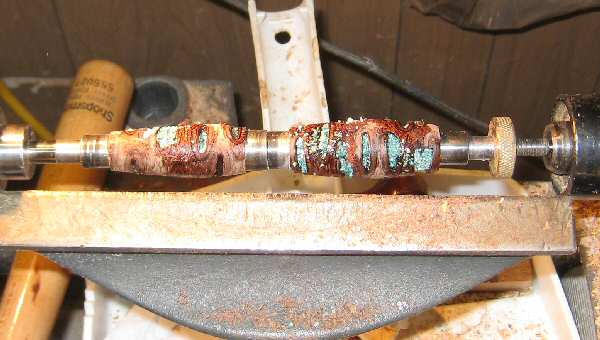
At
this point it is preferable to switch to sand paper to get the banksia
blanks down to size because I don't feel like sharpening the gouge
every couple minutes. I started out with 60 grit and a backing
board. It takes about 10 minutes to get the blanks properly
shaped.
60 grit works very well for this type of work because it does not clog easily. |
|
Switch
to 80 grit when you start getting close to the ideal diameter.
Don't get too close to the bushings. End work will start in a minute.
|
|
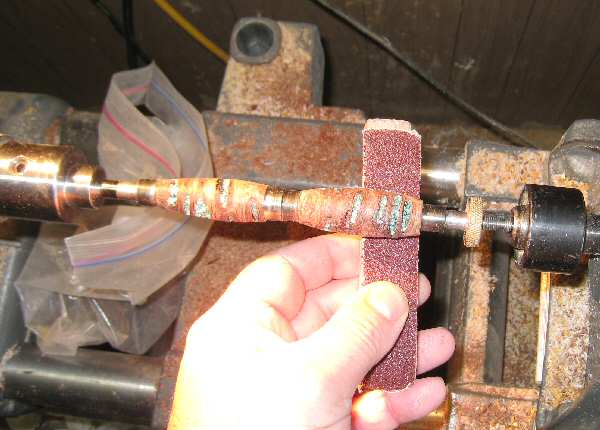
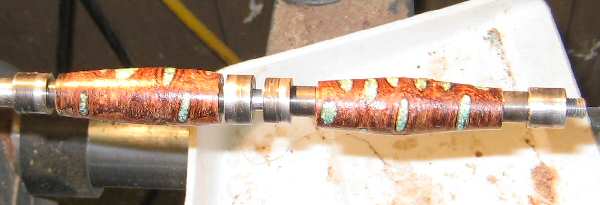
| Continue
sanding with 80 grit until you get very close to the ideal diameter.
The amount of lip I leave is shown with the scratch awl. |
|
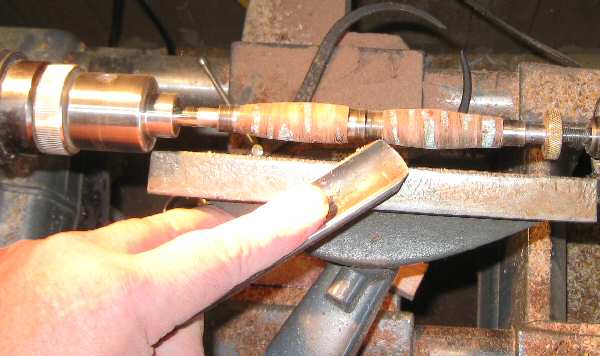
Use your turning tool of choice to trim up the banksia pod blank ends, getting them flush with the bushings.
Continue with 80 grit sand paper until you have just about reached your ideal diameter.
|
|
| Separate the blanks from the bushings and top the banksia seed holes off with inlay and CA glue. Let this dry naturally. |
|
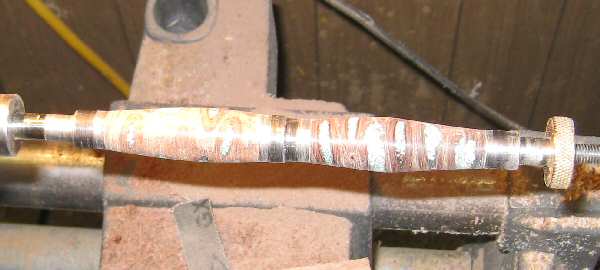
Sand
the blanks down again with 80 grit to knock down the inlay. Fill
in any noticeable voids and imperfections and re-sand.
|
|
Coat the banksia pod blanks once more with thin CA glue and let dry.
|
|
| Now is a good time to remove the blanks from the bushings and lightly square up the ends before continuing on. |
|
Ok. Reinstall blanks and bushings. Start sanding with 150 grit, moving up through 600 grit.
For a superior finish, sand with the grain as a final step before moving on to the next grit.
Fill in any cracks and voids found along the way. |
|
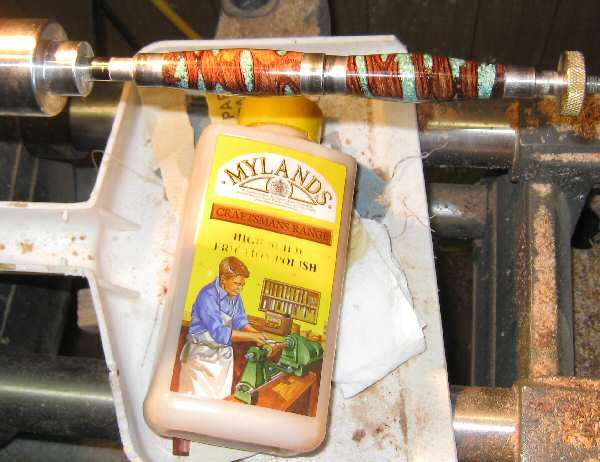
The banksia blanks are finish sanded with EEE and polished using Mylands.
Click here for more detail on EEE and CA Glue Finishes. |
|
|
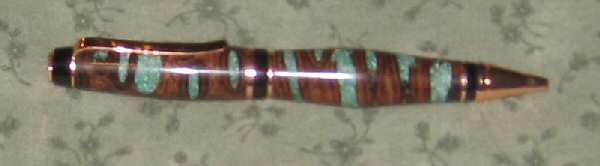
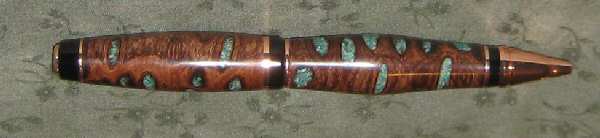
Banksia Pod Cigar Pen with malachite inlay and a hybrid CA glue finish.
One
thing I might point out is the pen top on the lower picture. This area
was very close to the banksia pod center where there are few if any
seed holes. While this looks ok, I would orient this towards the
back or under the pen clip.
|

|
A nice looking pen. I really like the newer copper finishes.
A couple other useful links:
Turning a 7mm Banksia Pod Pen with Inlay
Turning a Banksia Pod Vase with Inlay
Look to have a little fun? How about some Banksia Pod Mushrooms!
Would You like a Challenge? How about a Banksia Pod Haristick!
|