Turning
a Banksia Pod Vase
- August 2011 - Minor Update
Part
1
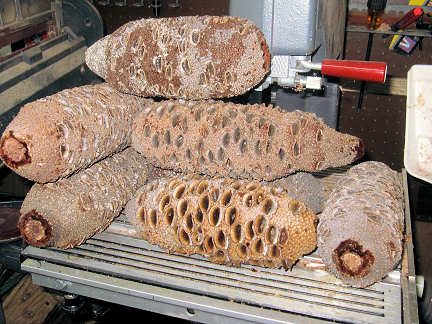
Banksia
Pods are
the Australian equivalent of pine cones.
Pods are harder and
fairly easy to turn. They
are messy though.
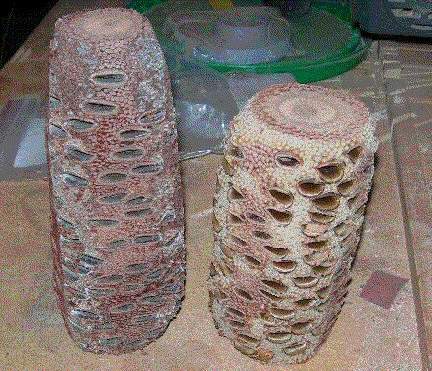
I highly recommend doing a few preliminary cuts with a
band saw.
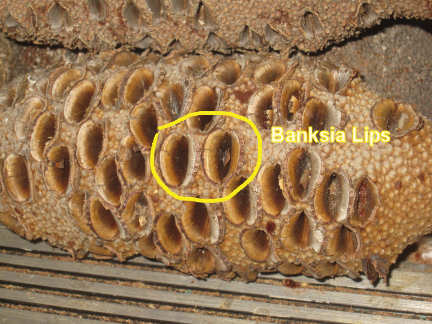
Trim the sides to get rid of most of the seed pod
'lips'.
If you don't do this, those 'lips' fly all over the place. Trim the
ends to get down to solid material.
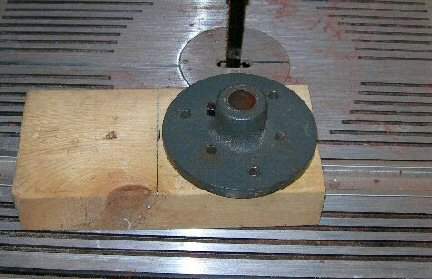
Since
this is a vase and there is limited material to work with,
a
sacrificial block really helps.
We need to keep this pod centered
and we also need a good,
safe method of attachment.
I
have a stack of 2 x 4 ends. These work well for sacrificial blocks.
Measure and cut one for
mounting to the faceplate.
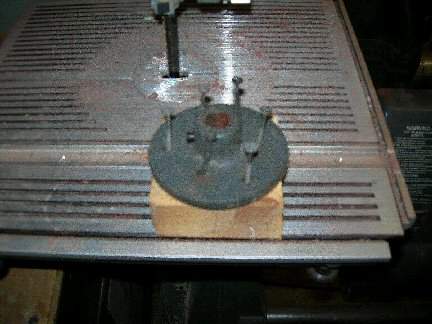
Screw
the faceplate to the block. I like using
drywall screws.
They are
quick to install and easy to remove.
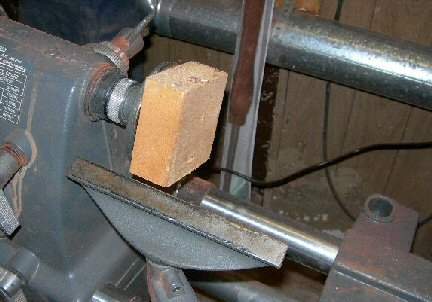
Mount the faceplate and round it
down.
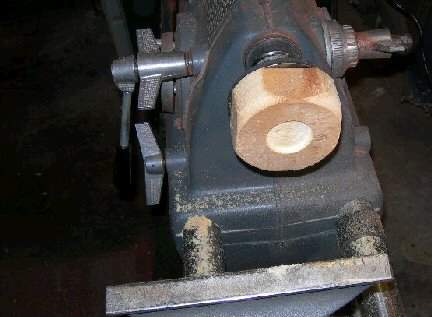
Cut a 1.5" insert into the block
approximately 1/4" deep.
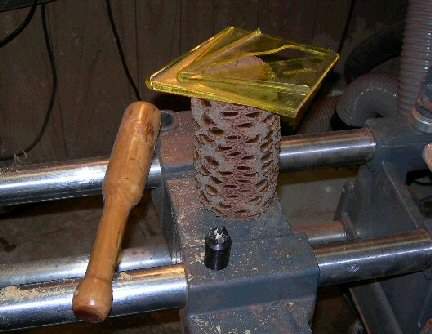
Back to the banksia pod.:
The
yellow piece of plastic on top of the pod is used to find the
center.
Center
here
is an approximation only. Mark
it and do the same with the other end.
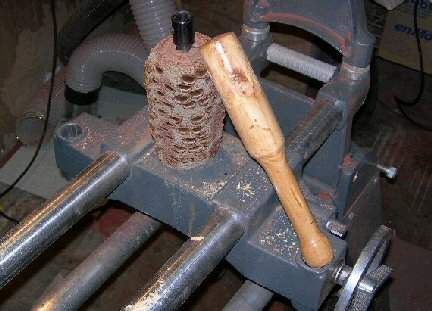
Hammer the chuck as close to center as possible. I use a wood
equalizer.
It
won't
damage the chuck. It is made from apple and is tough.
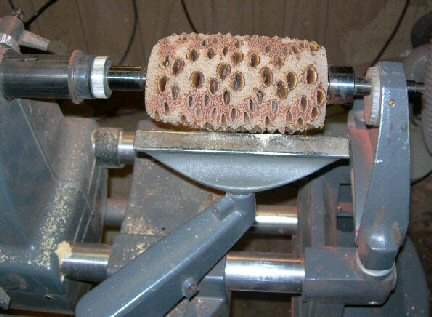
Mount the pod to the lathe. The object here is to get the pod
more or less round
and
to cut a tenon on the left side a little smaller than 1.5"
I
use double eye protection and a face mask. Pieces tend to
fly off in all directions
.
Part way into the pod you will run into red
fuzz, which is the reason for the
face mask.
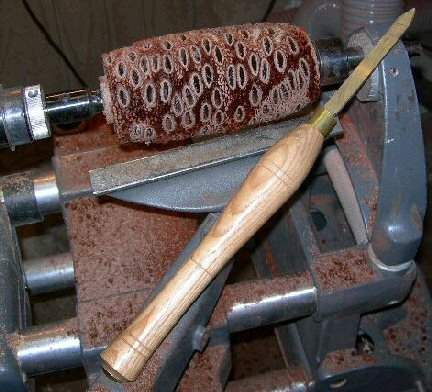
The pod is more or less round and the tenon (on the left) is cut.
The tenon
is cut using a parting tool.
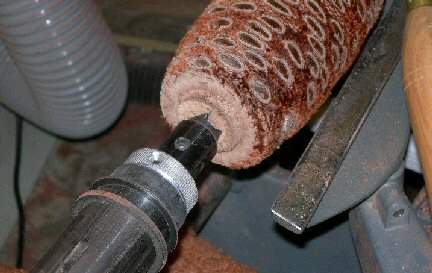
End view of the tenon.
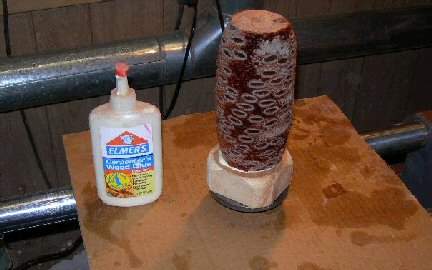
Remove the pod from the lathe and glue the tendon into the sacrificial
block.
Elmers wood
glue is good and strong. Let it dry for
a day.
Some
of the more experienced turners may point out that these steps are
unnecessary if you have the right kind of chuck.
While that may be true, this to me
is the safest and worth the extra steps.
Also,
we are going to be exerting a fair amount of torque on this piece
later on.
It
is
essential to keep the piece as centered as possible.
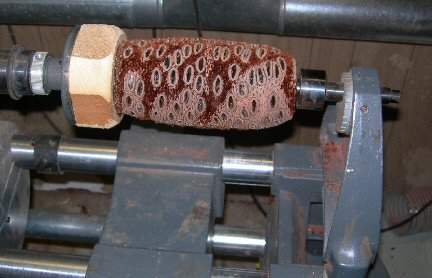
A day later it is cool enough to work in the garage for a while.
The glue is
dry and the banksia pod is ready for turning.
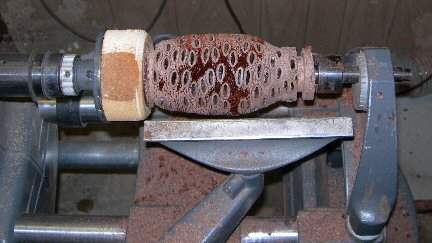
You kind of have to let the pod dictate how it is going to turn out.
Some people
like to leave a lot of red fuzz.
I prefer to
leave a hint of it if I am
going to leave any all.
I
use the gouge to cut the locations for the vase top and bottom.
I
find that if you do this at the outset it helps in turning the vase
and getting the
perspective right.
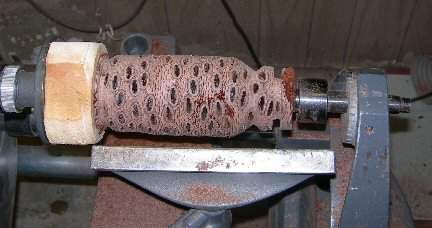
It is taking a bit of turning do get rid of the deep fuzz pockets.
That is why
people desire fat banksia pods. More to work with.
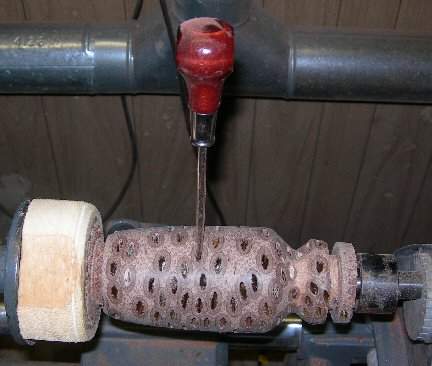
I am making this vase fairly wide and heavy because a dried flower
arrangement will be
used .
The
banksia pod is then sanded up to 320 grit. Next comes the
fun part.
Using a scratch awl, pull out all the seed hulls and clean the banksia
pod holes.
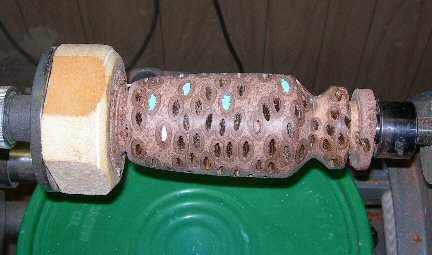
I
think this pod will look nice with some inlay. This is
how I start out:
1.
The seed holes are deep and will suck up a ton of inlay
materials so
take some
bits of tissue or paper
towel and plug the holes to within about
1/8" of the surface.
2.
Fill with medium to fine grit material and and top off
with thin super glue. I use an
accelerant.
3.
Top off with a thick coat of CA glue - medium viscosity.
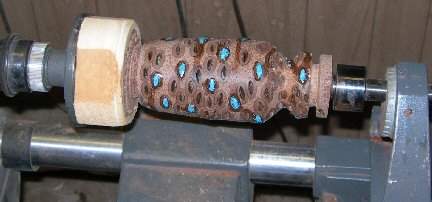
Let sit overnight. I usually always let it set a day even if
accelerant is used.
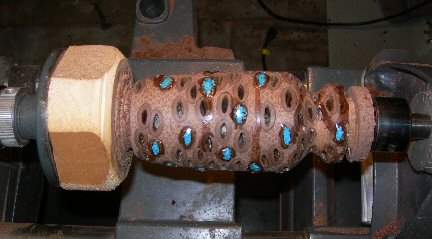
The next day the CA glue is sanded down.
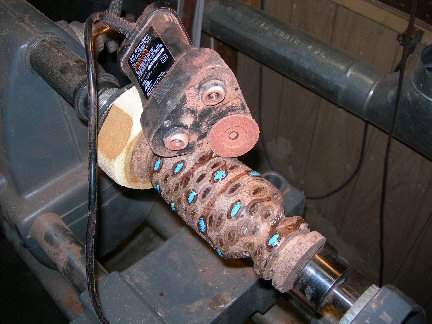
I was a big fan of the 3D sander. Saved on sand paper and
saves lots of turning time.
A better way is to use a cheap 5-6" sanding disk attached to a drill (I learned this over time).
Use a 40-60 grit disk from a discounter like Cummins.
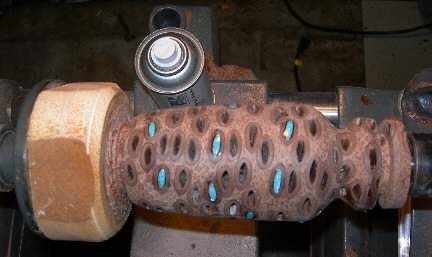
After the inlay is sanded down I double check for obvious gaps and
holes in the inlay.
Fill
with medium viscosity CA glue and sand one more time.
Sand
the entire banksia pod to 600 grit to show off the
inlay.
Remember it is rock and it does
take a finish.
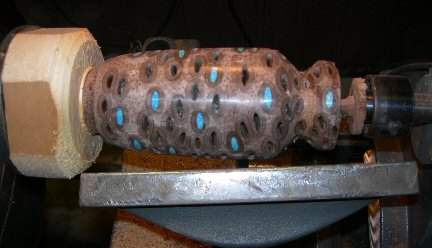
Time to use the parting tool on the vase top. Make a concave
cut so there is a
dimple.
The dimple will be used to guide the pilot drill
bit.
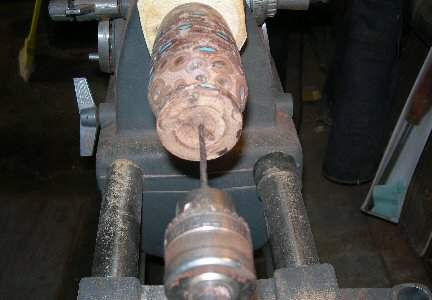
Drill a pilot hole.
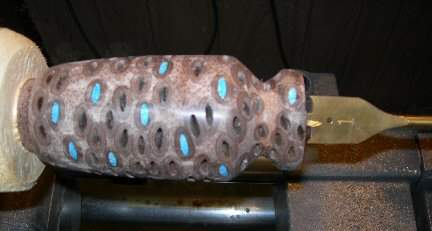
I use spade drills do bore out the center. The bit here is a
1" bit.
After that
I use the parting tool to create a convex vase bottom .
It is an easy way to
ensure the vase is flat.
The outer rim of the vase is flat because it has not been removed from
the lathe while turning.
Cut
in towards the center using a slightly convex cut.
The vase
will rest on the rim and viola! It is flat!
(Took
me more time than I would like to admit to figure this out)
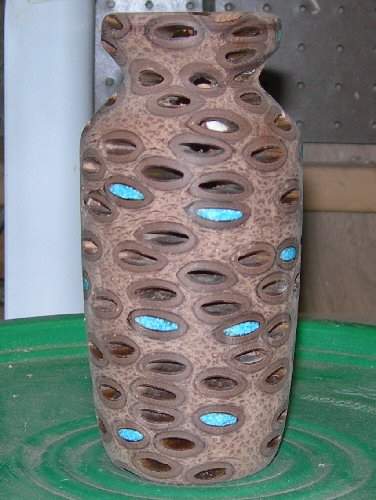
The
banksia vase has been drilled out and cleaned out. It is
ready for a finish.
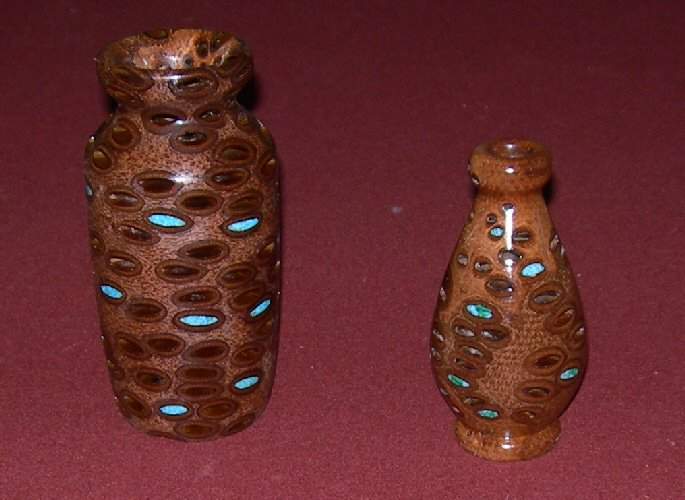
Both banksia vases have the same finish. The one on the left
had urethane directly applied, which gives it a rougher looking
finish.
The vase on the right had a coat of
EEE applied prior to the urethane finish, which made for a smoother
end product.
Part
2
Here we are a couple years later and my large box of banksia pods has
been reduced to odds and ends.

First
up on the chopping block is this long, skinny banksia bod. At
first glance it doesn't look like I will get much out of this.

Today is probably not the best day for turning banksia pods.
It is hot, sweaty and sticky outside.

Hmmm.....are
you thinking what I am thinking? Maybe I'd be
better off
trying to get two vases out of this banksia pod.

Huh. This is going to work out just right.

A sacrificial block is a necessity here. Not enough spare
material to work with.

Time to get out of the heat and let this sit for a day or two.

While cleaning out the banksia pod seed holes, a seriously degraded
area about the size of a quarter becomes visible.

Use banksia sawdust and CA glue to back fill.

I
think this area will come out ok. However, the area will stand out like
a sore thumb if the rest of the pod is not sealed with CA glue.

I have a bunch of sandstone already crushed so I will go with that.
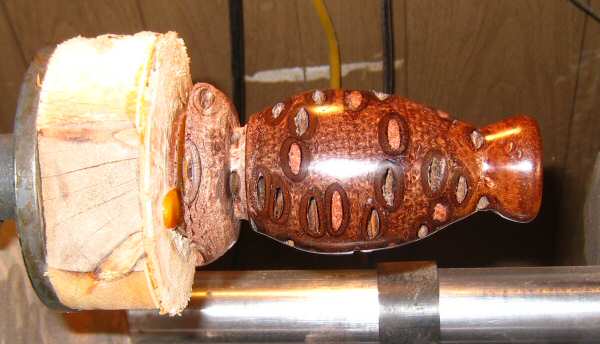
This banksia pod vase is finished as follows:
1. Sand down to 320 grit.
2.
Coat the pod with a thin layer of CA glue
3. Sand down to 400 grit.
4, Check for imperfections and repair.
5. Sand to 600 grit.
6. Apply EEE and then remove all traces. Note: There is a
downside to this - the EEE accumulates in the seed holes.
7. Finish in this case, is clear urethane.

I cut the vase bottom slightly concave, which helps keep the base flat
and then hand finish the vase bottom.

A family of Banksia pod vases.
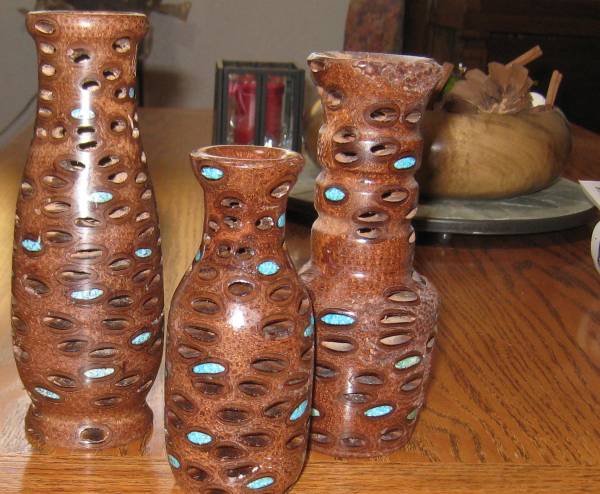
A few more Banksia pod vases.
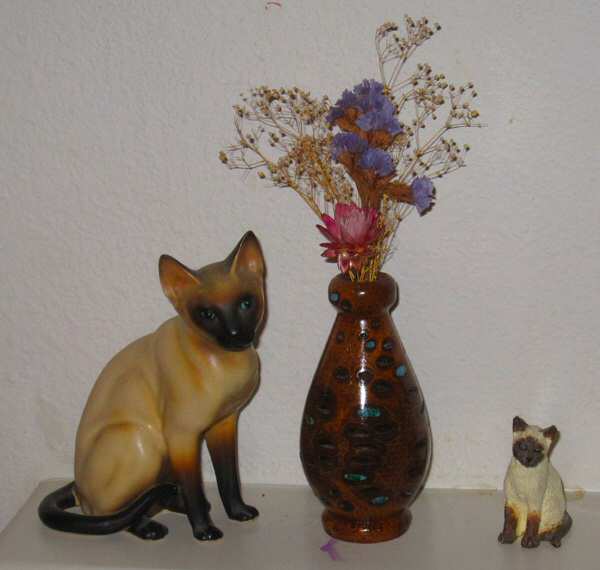
The only thing I can lay claim to here is the vase. Nice arrangement.
A final reminder about
turning banksia pods.
A.
Use safety glasses and a face shield during initial turning.
The banksia pod seed lips go everywhere at a high rate of
speed.
Don't just use a face shield because
I've had pieces richochet off the inside of the face shield and into my face..
B
Consider using a particle mask until you get the red hairs
turned out. I don't think it is toxic, but breathing banksia
pod
hairs
is not something I would care to do
anyway.
If pens are more your style, here is an in depth look at turning a 7mm Banksia Pod Pen.
For something guaranteed impressive, how about a Banksia Cigar Pen.
Also, I would be interested in seeing others
Banksia creations. I'd like to devote a page or two other Banksia
turnings.
Heck, might even give me a new idea or two.
If you are up for a real challenge, might I suggest a Banksia Pod and Ebony Hair Stick.
Want an easy project idea? How about a few Banksia Pod Mushrooms..
Or....How about some Deviant Art.........Guaranteed to Stab you a few times during the construction process.


