Turning
a 7mm Banksia Pod Pen with Inlay - Updated September, 2010
Banksia pod pens are
quite the eye catcher. I have given up carrying them around with me
though.
To date I have
washed four, dried four and exploded the ink in all four a day later.
Washed a couple cell phones too. I never have been consistent with
checking shirt pockets.
As a result I've gotten pretty good at turning banksia pod pens and
even better at fixing inlays.
A good place to buy banksia pods is somewhere where you can get bulk
pricing.
LeeTreeWoodWorks out of Florida has been a good place to get banksia
pods at reasonable prices.

Turning a banksia pod
pen and doing the inlay is not
really that difficult but it is rather time consuming if you want to
increase
your odds of getting it right the first time. Banksia pods
which are
too skinny to make good vases can make decent pen blanks.

Stay away from
the center when cutting blanks This will ensure you get some
good areas for inlay.
Cut plenty of spares - best laid plans and all that.

Cut the blanks
as you would normally. Pour drops of thin CA glue into the
areas where brass is exposed.
This helps the
keep the blank in one piece.
Don't do this
and the odds increase
rather dramatically that major pieces will end up flying off the blank.

If you can see
brass, glue it.
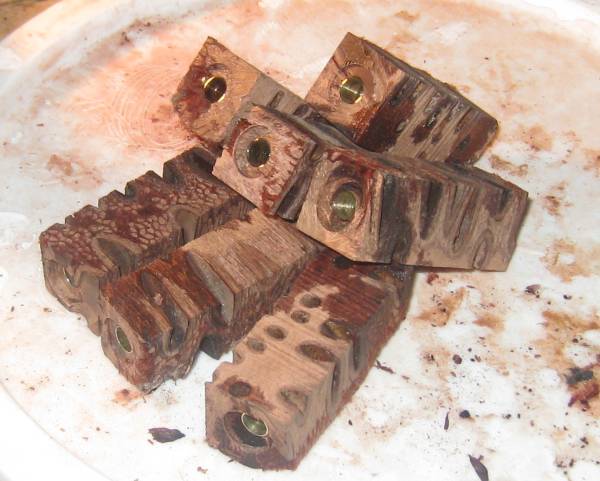
It is almost impossible
to get good square ends the first
time they are milled. Save some sawdust and shavings and back
fill.
There were only two blanks which did not need end work. We
will continue on with those.
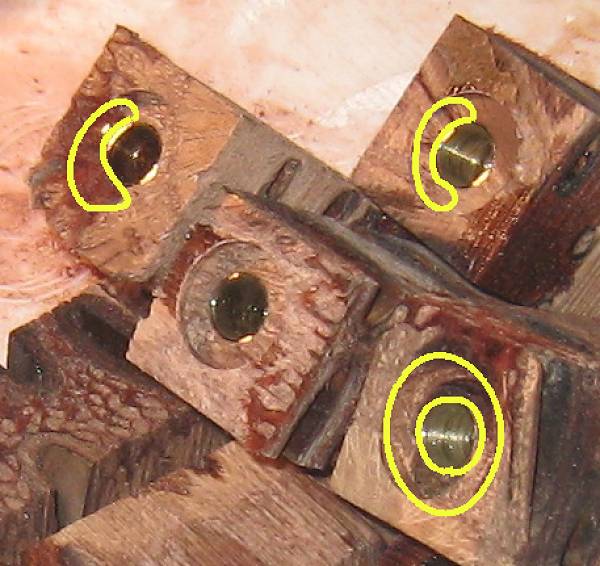
These three banksia blanks need some serious work.
One is growing
hair, an entire ring broke out of another and the third is half ok,
half porous. Add some glue to all the
ends anyway.
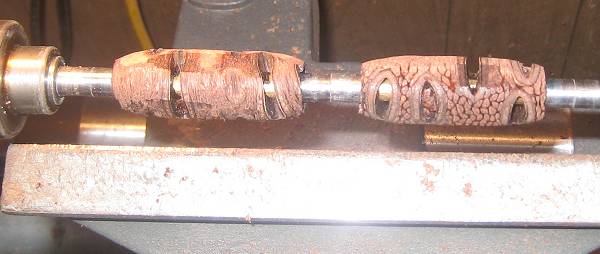
Mount and turn the blanks in the usual way, getting them partially
round.
Stop
Add
more thin CA glue to the
exposed brass and then continue turning.
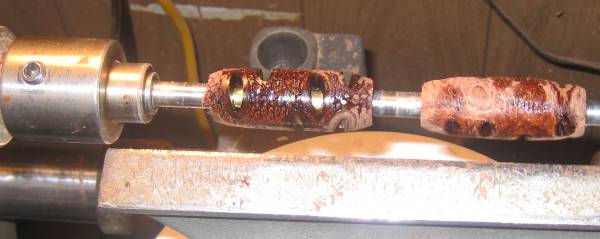
Once the blanks are round, taper the ends.
Stop
Now
it is getting to the
critical part. If you continue turning, some of those holes
may really open up and pieces might go airborne.
What to do, what to do.
Me, I decide to do a
little back filling with inlay
material to reinforce the ever widening holes. This does
have a downside in that
the tool is going to need repeated sharpening to get down
to grade. Needless to say, soft inlay materials help.
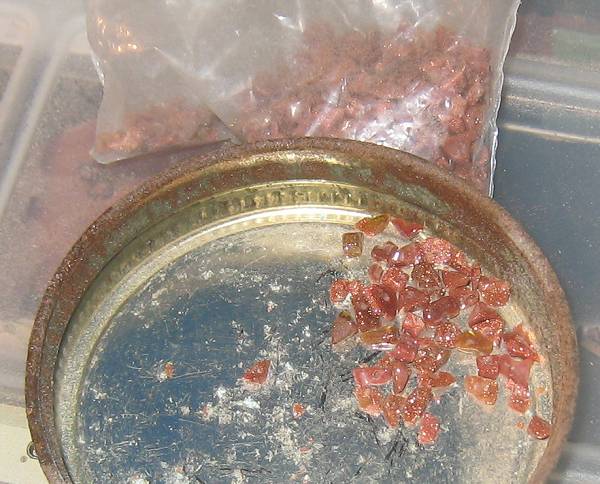
For this particular project I am using Indian Sandstone. This
is pretty neat stuff. I went down to Hobby Lobby and bought
a necklace made from sandstone and am using that. Hobby Lobby
has other nice materials and they are quite inexpensive.
The necklace cost about $3.50 and the stones will last quite a while.
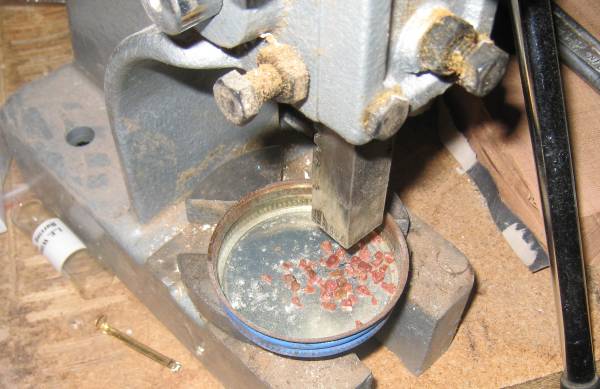
Crush some of the stone. I use a cheapo arbor press from
Cummins.
One of the few tools from China I would actually recommend.
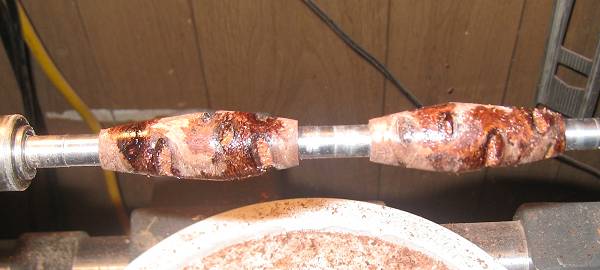
Put a drop or two of thin CA glue into each hole and pour in enough
crushed stone to bridge the holes.
The idea is to reinforce the blank.
Continue turning until about the radius is about 1/8" over
the finished product. This takes a while because
stone is being turned down too.
It is difficult to turn the
blanks evenly because of the differences in hardness throughout the
blank.
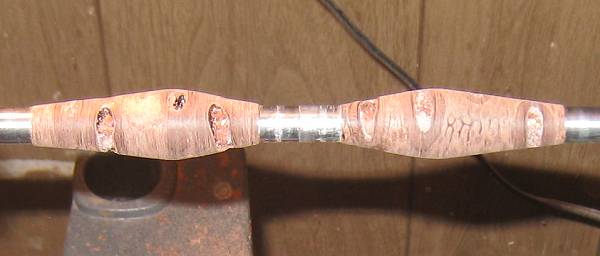
Grab a spare pen blank (a real one) and use it as a backing board for
some 80 grit sand paper and start sanding down to size.
Be careful - 80 grit can turn a blank down pretty quick. I like this
grit because it does not easily clog.
Switch to 120
grit as you get close to the ideal diameter. If you try
sanding without a backing board, the blank will sand unevenly.
A good place for sandpaper is Cummins or Harbor Freight, where you can
pick up packs of sanding belts in varying grits at very
reasonable prices. I cut them up and put them in one-gallon freezer
bags, labeled with magic marker.

The first thing prior to filling the blanks up with inlay is to get all
the dust and grit out of the holes.
I use cans of compressed air for cleaning keyboards and the
like. Walmart and office stores carry compressed air.
Next, ensure the brass tubes don't show through the finished product.
Apply one drop of thin CA glue in each hole and mound up very
finely crushed inlay material over the holes.
Let it dry naturally.
Regular CA glue sometimes foams
up and turns white when an accellerant is applied, which makes for a
very unattractive end product.
Put one or two large chunks of sandstone in each hole and
follow up with smaller chunks and fine material.
The material should be mounded up over each hole and not flush. Apply
enough CA glue to coat thoroughly.
Let it dry naturally.
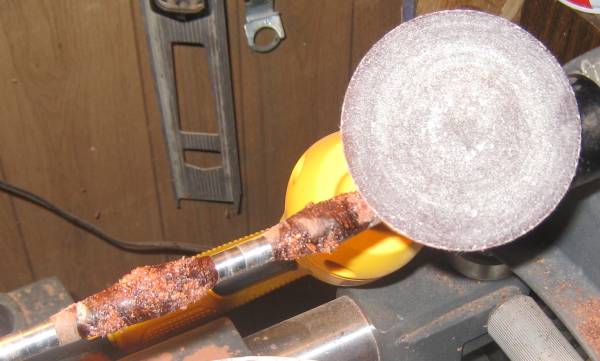
Sand off the extra stone with a power tool just above flush.
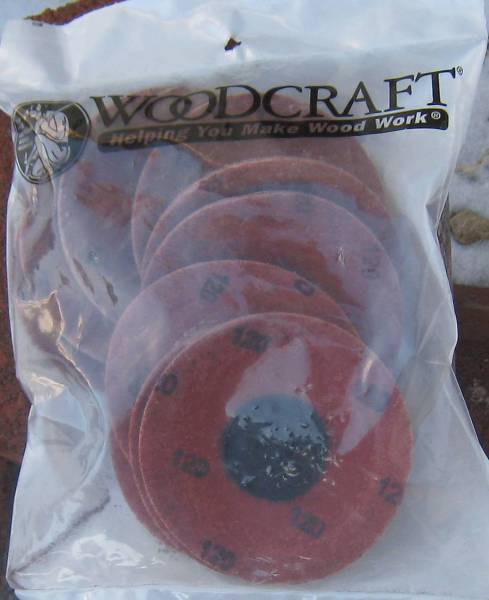
I like these sanding disks which can be purchased from WoodCraft
stores.
They come in 80 and 120 grit. Use the 120 grit. 80
grit is too aggressive.
If you choose to turn and sand by hand instead, you generally blow
through lots of sand paper before getting down to the surface.
The coarser grits can also catch on the inlay and actually pull bits of
stone from the glue.
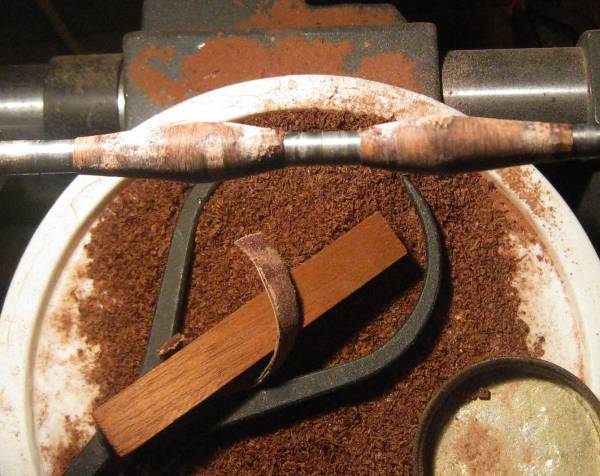
Start the lathe and hand sand with a backing board using 120
grit down to just about flush.
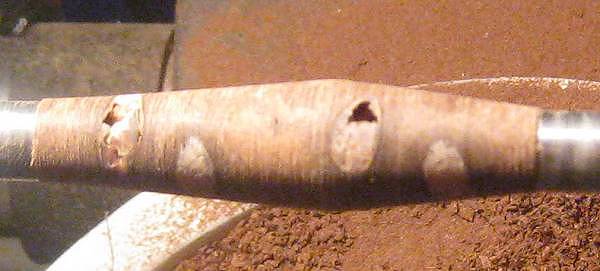
Stop the lathe and inspect each inlay for holes.
Fill the large divots. The detail work will come later.
Don't forget to clean with compressed air first.
Start the lathe and sand down to flush using a backing board.
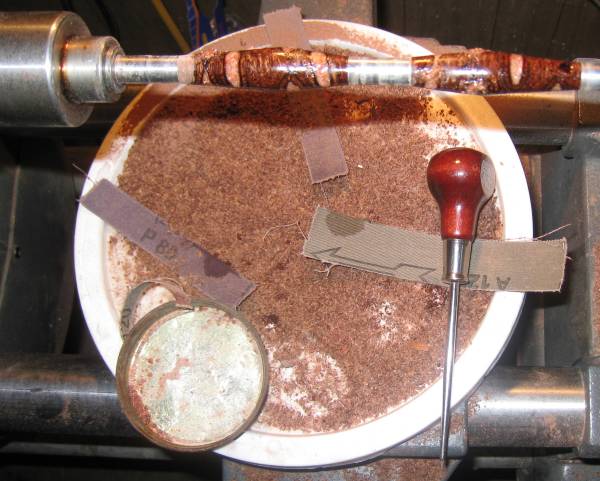
Repeat the process one more time, sanding down to 400 grit.
Starting to see light at the end of the tunnel.
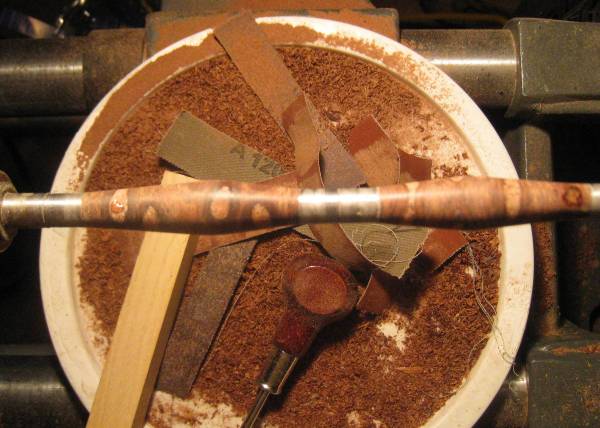
Perform one more visual inspection and fill in any other small voids
with medium
viscosity CA glue. Hand sand the excess with 400 grit.
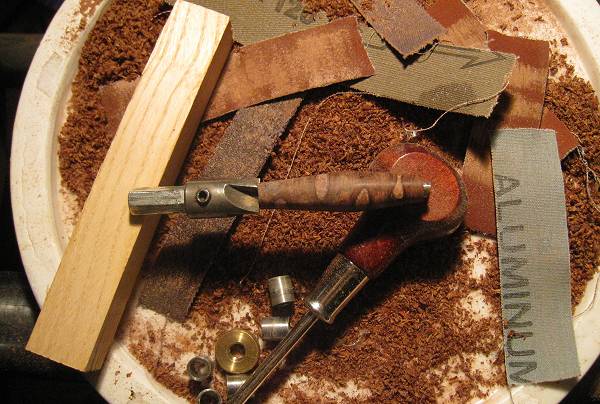
Remove the blanks and clean up the ends with a milling tool.
One or two twists is all that is required.
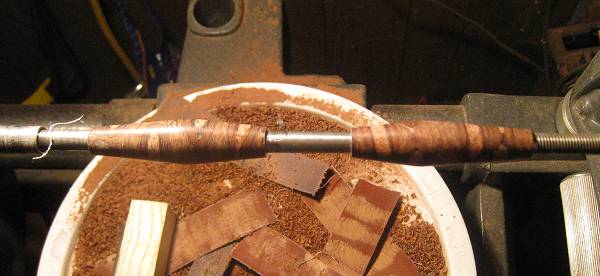
Install the blanks back on the mandrel minus the bushings.
I use a little string to wedge the blanks on the mandrel.
Start the lathe and use some 600 grit sandpaper to blunt the ends of
the blanks.
Blunting the edges prevents those catches you feel with your fingers
when the finished blank is a bit over sized.
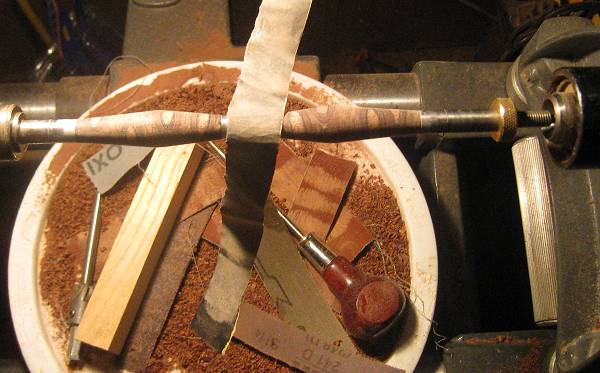
Remove the blanks and reinstall the bushings. Finish sanding with at
least 600 grit.
Wipe the blanks and do one final close inspection.
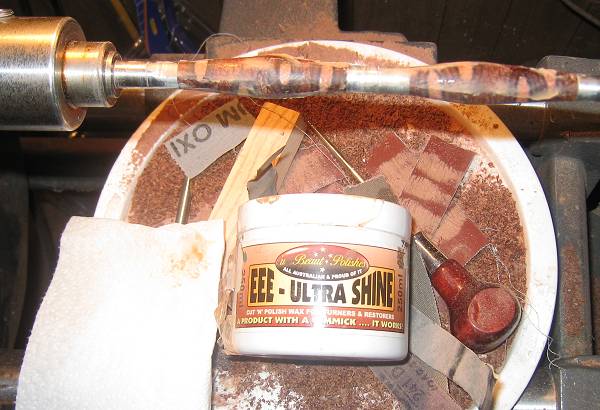
The next step is my own personal concoction.
Coat the blanks with EEE, start the lathe and begin working the polish
in.
Put a little more EEE on a paper towel and add a drop or two of thin CA
glue on top of the EEE.
Apply the CA glue and EEE to one pen blank at a time,
working it into the surface.
This needs to be done in one step or the finish ends up looking pretty
strange.
My theory here is that the CA glue seals the blank and the EEE polishes
all.
It is not a true CA glue finish, which I don't personally care
for.
CA finishes look to plasticky for me.
Why not seal the blank with glue first?
Because I end up having to sand the blanks again.
This way I avoid that step and the EEE provides a 1500 grit finish.
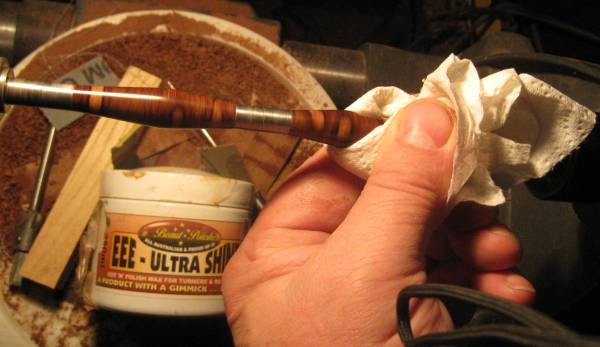
I treat this as I would a friction polish.
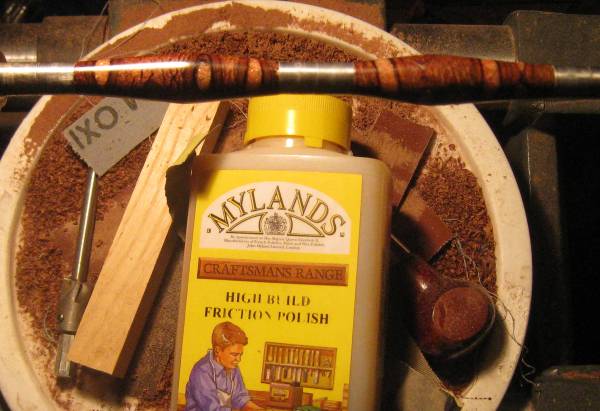
The banksia blanks are finished off with Mylands.
Looking pretty good.

One Banksia Pod pen and pencil set with Indian Sandstone inlay ready
for next Christmas.
A Nice, 7mm Pen from Richard in Broken Arrow, OK - September, 2010
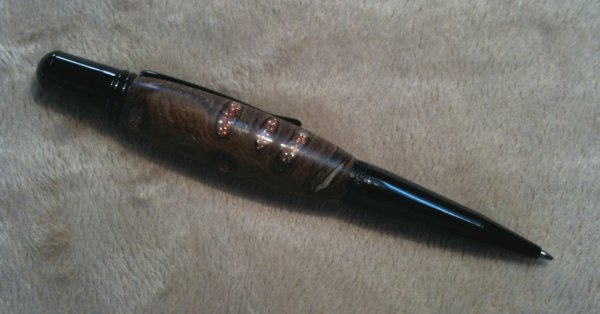
I
just wanted to take a minute to say thank you for your tutorial on
making inlay pens from a banksia pod. I've read and re-read your
tutorials many times. I especially appreciate that you included the
challenges you ran into. That really helped when I ran into problems
and gave me the patience to continue on. I also liked how you had two
different tutorials for basically the same processs (cigar pen and
7mm). Each one provided tips and insight that were unique.
I
used metal dust for my first one. I'm thinking now that the dust is
really meant as an accent for other inlays. Still, it worked well
enough though messy. The copper dust coloring seemed to wear off
showing silver beneath it.
I've
attached a picture of my first attempt. I've really got to work on my
photography. Now, those vases and mushrooms look awfully
interesting... You've sure got me moving beyond basic pen making.
Thanks again,
Richard
Comment:
Now that is a nice looking pen! I don't recognize the pen
model. Is this similar to the Vertex type pens? What kind of finish did you end up using?
'The pen is a black wall street II I picked up at Woodcraft. I used a CA finish. I'll have to try the EEE finish sometime.'
It's always nice to see the work of others and I'm glad my banksia ramblings were of benefit.
Thanks for the nice words and the photo.
Dan
|
One Banksia Pod pen and pencil set with Indian Sandstone inlay ready
for next Christmas.
If larger pens are more your style, how about a Banksia Pod Cigar Pen?
Banksia Pods also make attractive vases. For a look at Banksia Pod vases, Click Here:


