 |
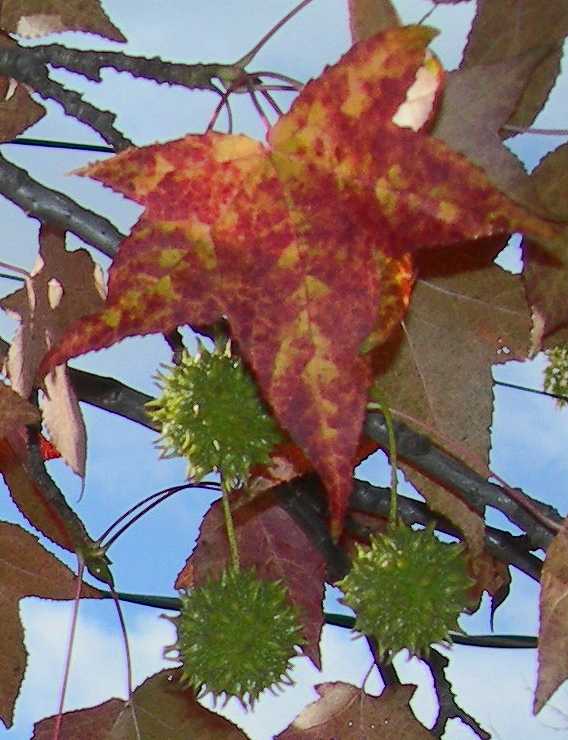
| The Notorious Sweetgum Balls aka Porcupine Eggs |
 |
| Late
in the fall last year, my friend Gene brought a number of
green
logs over for my use. These were from a Sweetgum tree he
chopped
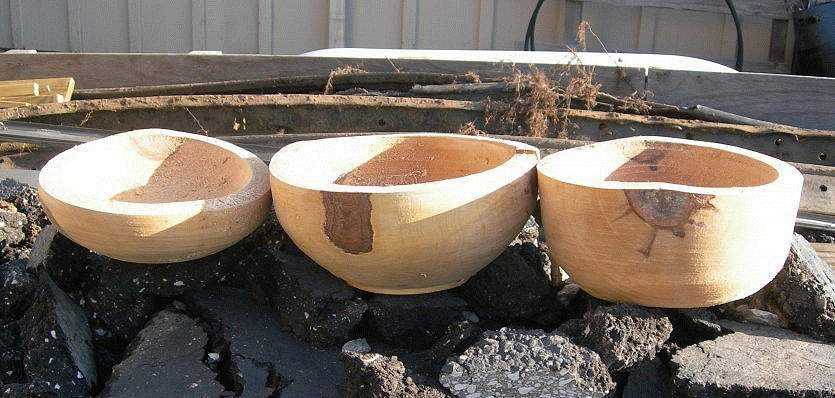
down in his yard. It was enough to rough out three large
bowls
and it provided six small salad bowl blanks. I roughed out these green, coated them with tung oil and sealed them in boxes of fresh wood chips. Last week (Sept 17, 2006) I pulled them out and was pleasantly surprised. I read that Sweetgum was notorious for warping and splitting and was not overly enthusiastic about getting anything salvageable. These will all work. I think it is dawning on me that if I turn these rough without the heart wood, the warpage will be extremely minimal. But, getting rid of the heartwood means I would need a really big chunk of wood to get a large bowl. |
| Bowl 1 |
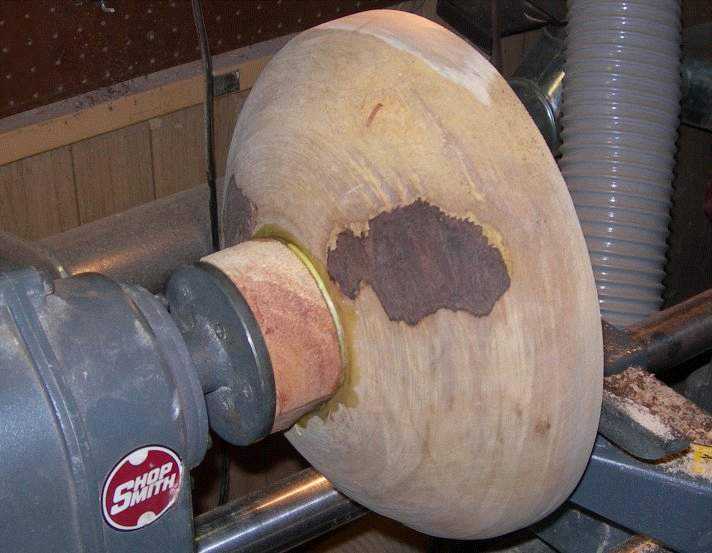 |
| I decided to start with the smallest bowl blank as I have no experience with Sweetgum. I was pleasantly surprised to find that Sweetgum turns very easily. |
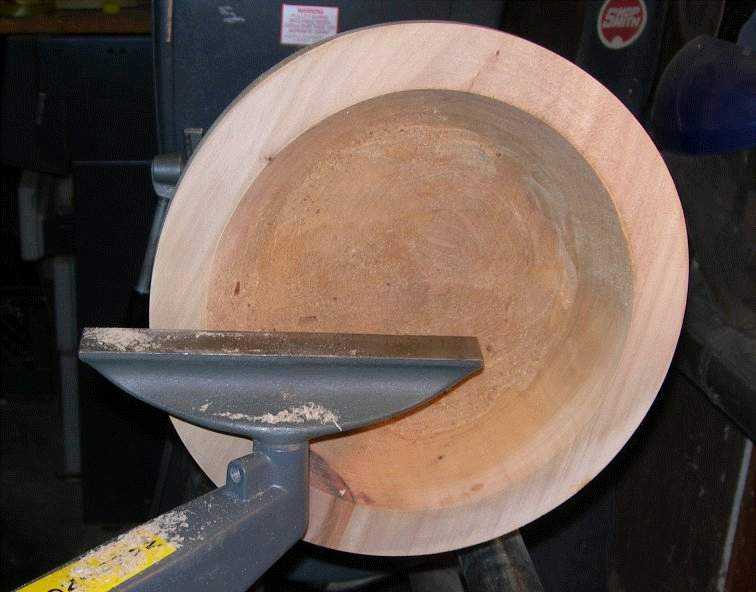 |
| The outside turned down amazingly quickly. Lets hope the inside does as well. |
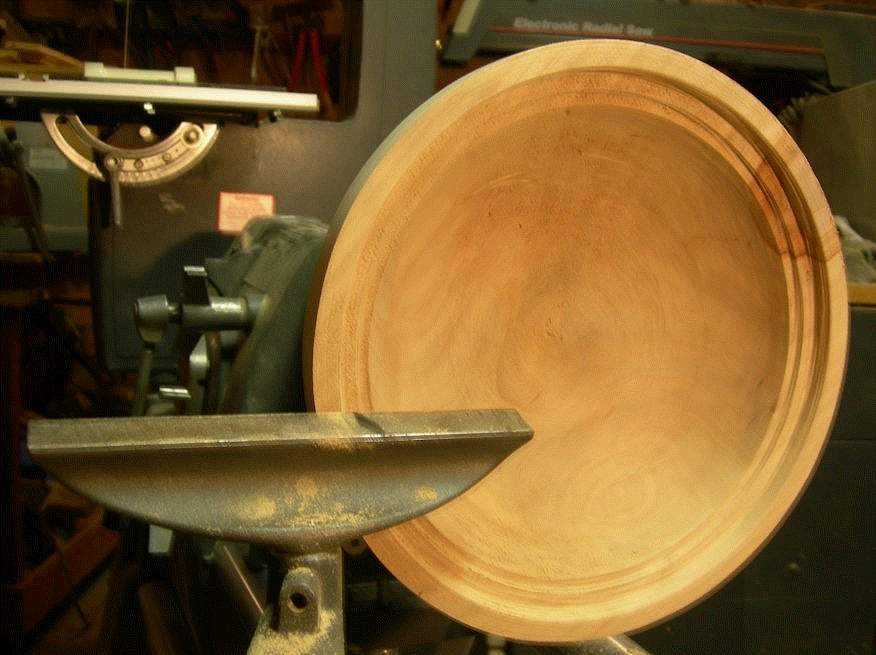 |
| I was getting rather suspicious about the ease of which this is turning so I have been following the 'step down' technique. This is working well. |
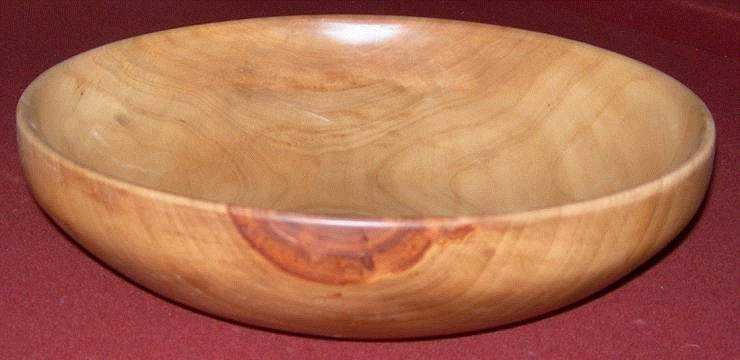 |
| The outside finished with Tung Oil |
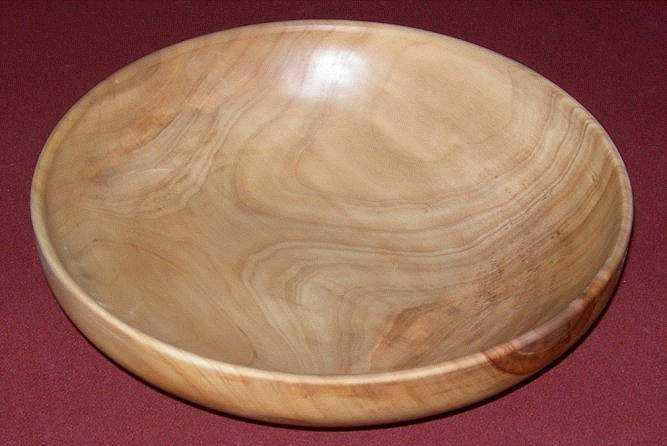 |
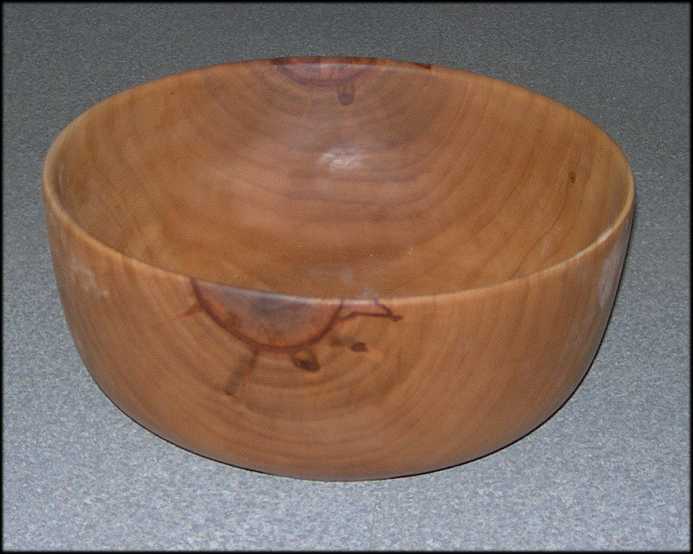
| The inside finished. This will make for a nice, small salad bowl. Took me only three days! |
 |
|
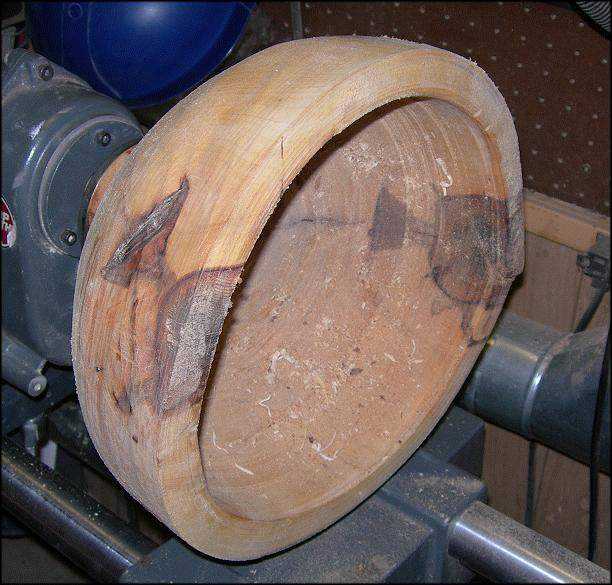
| This guy looks a little rougher around the edges. | |
 |
|
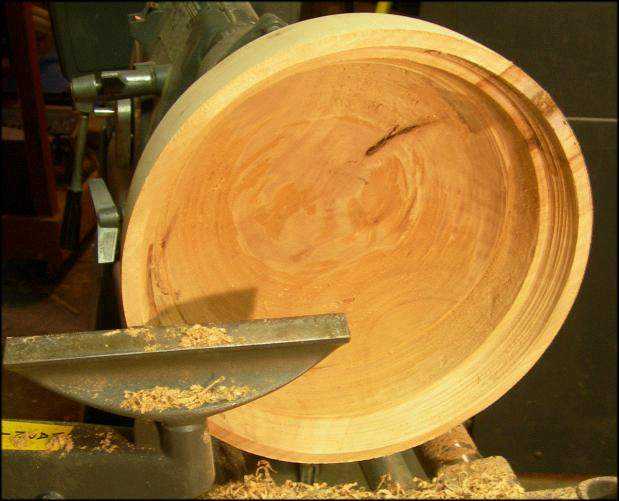
| An interesting crack to deal with. | |
 |
|
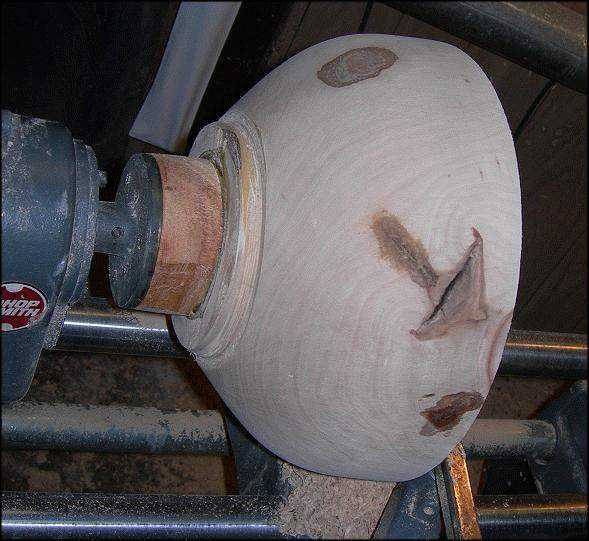
| This is going reasonably well. | |
 |
|
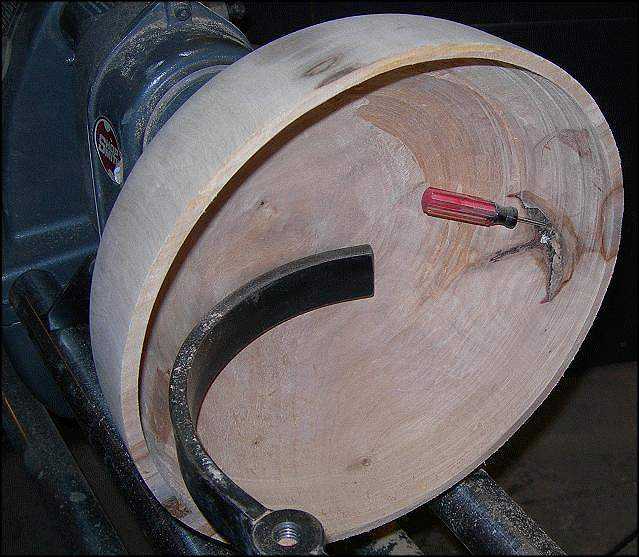
| The outside is turning down nicely. | |
 |
|
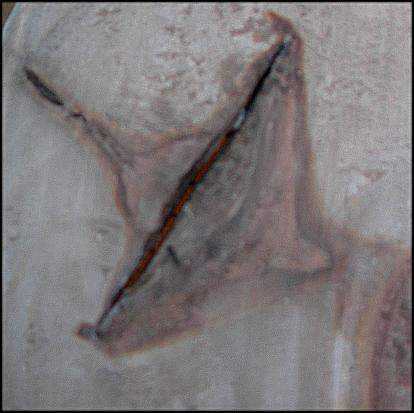
| Turning out to be quite a gap. |
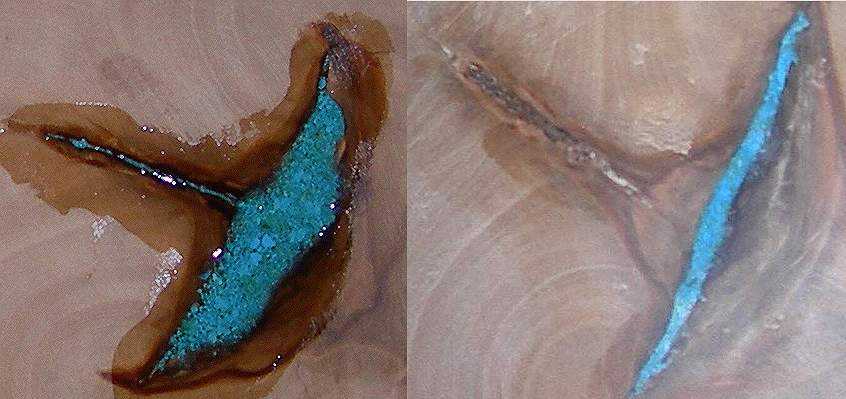 |
| The
crack as it
appears on the inside.
The Crack as it appears on
the outside. I decided to use turquoise this time, which is quite a bit easier to work with. It is a several step process. First I tape one side, whichever is widest and shove the tape up into the crack. Then I fill up the crack a bit below the surface with chips and apply a layer of CA glue. I use hardener so it sets quickly. I then remove the tape from the other side and fill with chips just below the surface and set with CA glue and a hardener. Go back to the narrow side and top the crack off with chips so it is slightly mounded above the surface of the bowl. Fill with CA glue and let set naturally. I then sand the chips down flush and blow out with compressed air. There will be voids. I crush some turquoise to dust and use that to fill the voids. Top off with medium viscosity CA glue and let set - usually a day. Then finish it off. Unfortunately, muscle spasms in the lower back are going to put this on hold for a bit. |
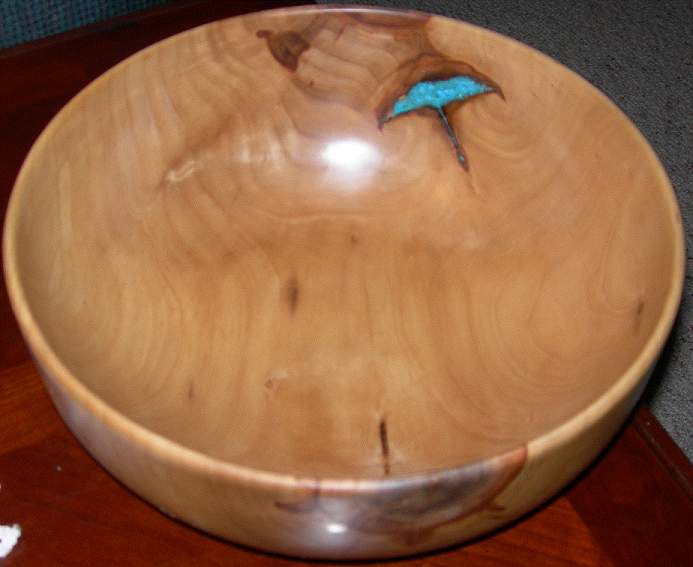 |
| The bowl is finished and coated with Tung Oil. More character in this one. One thing about wood, you never know what you get until you are finished. The inlay was a bit tricky but it turned out nicely too. |
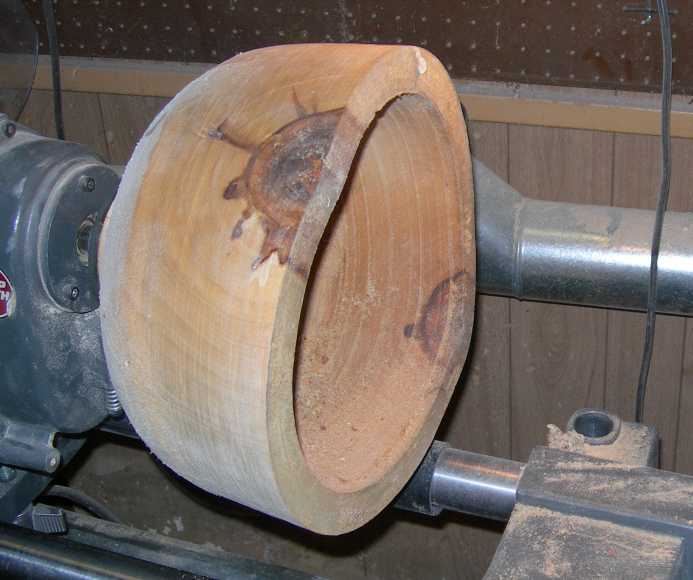 |
| The third bowl of the trilogy. |
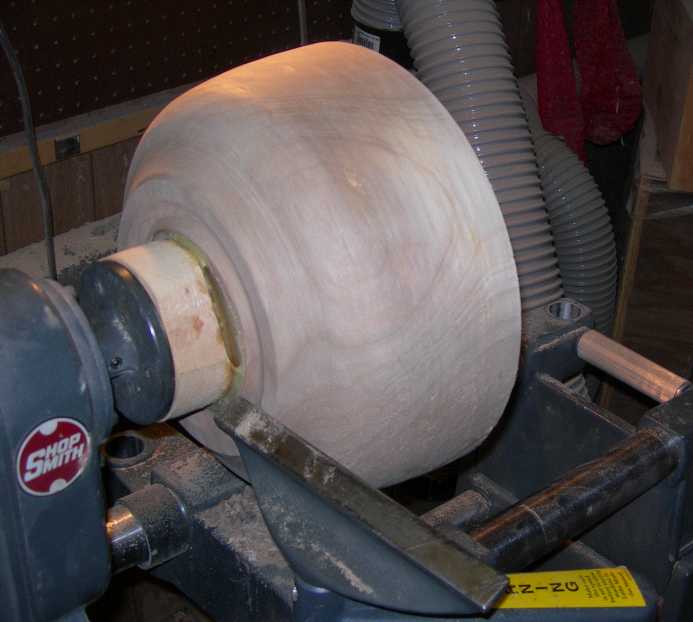 |
| Day One - Turned down quite easily. Sharp tools help. |
 |
| Day Three - The last one is done. It went amazingly fast. |
