I was asked the other day if I could turn an offering bowl and I'd never heard of one of those before so I decided to Google it:

Hmmm........I don't think that is what the customer had in mind.
A bit more research yielded this:
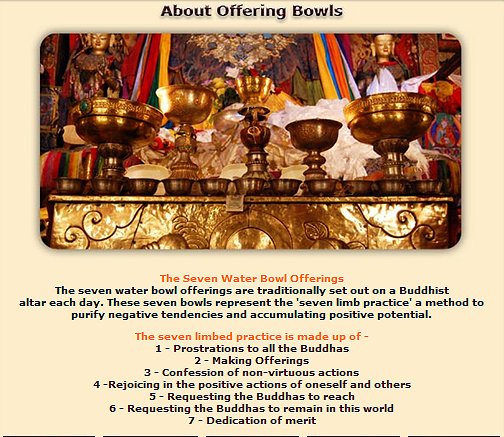
I think these are the more likely candidates - I seem to remember something about serenity....
After further consultation, a smallish wooden bowl with inlay or something else earthy was what he had in mind, and I have a number of blanks like that which would fit the bill.
I'm guessing plastic is not a viable material.....

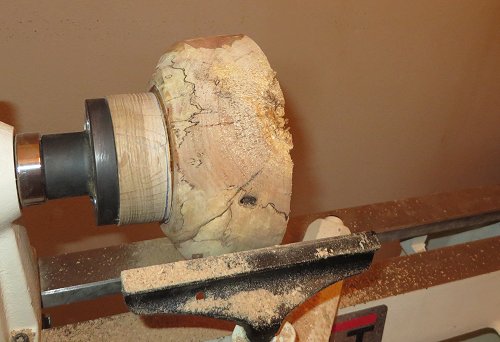
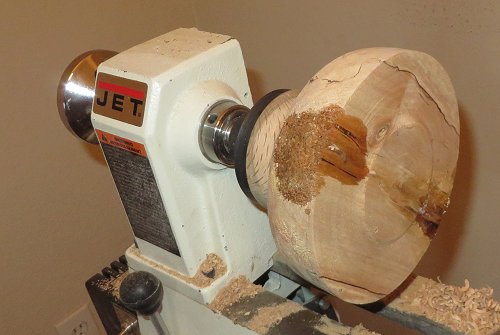
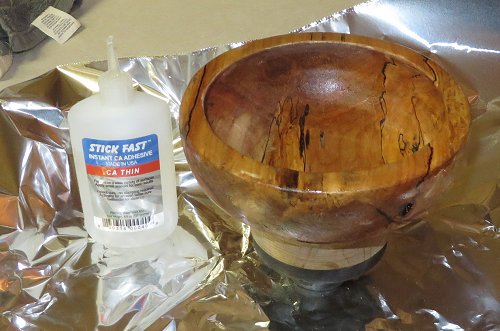
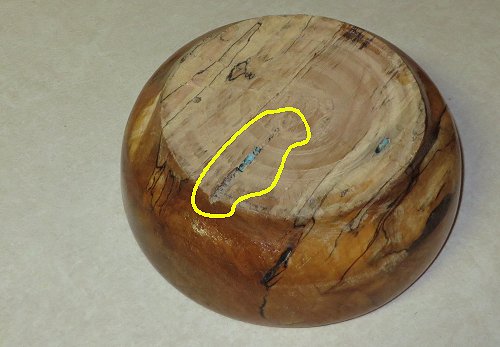
This piece of spalted maple should fit the bill. It does have minerals in it (the spalt lines) and it also has a good sized section of very pithy wood but most of th at should turn out.
Turning it a bit shows some other areas which will need to be reinforced.
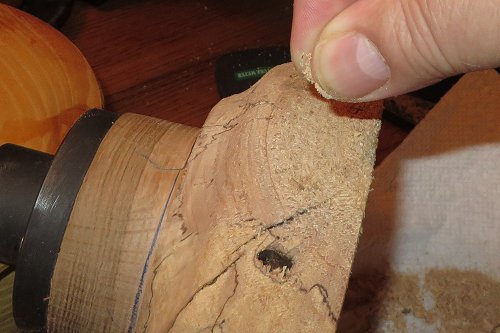
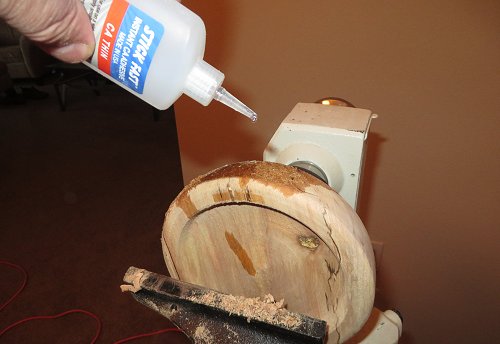
The way to reinforce an area like this is to rub sawdust into the affected area and then mound some extra sawdust over the top.
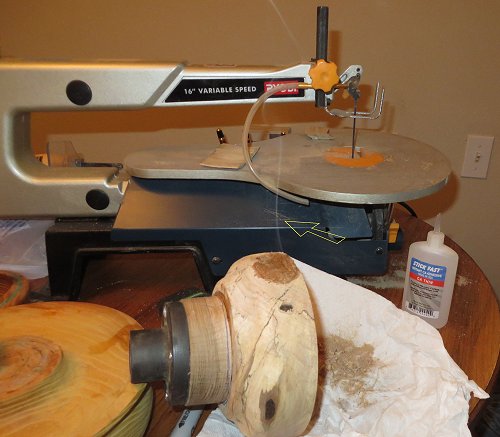
Next, fill the area with thin CA glue and keep filling until the glue runs over. It may take a a bit because major pith absorbs CA glue like a sponge and for whatever reason the affected area usually starts to smoke, which is where the thin stream of smoke above the bowl is coming from.
Actually, that's quite a bit of smoke.
It's best to let this dry naturally.
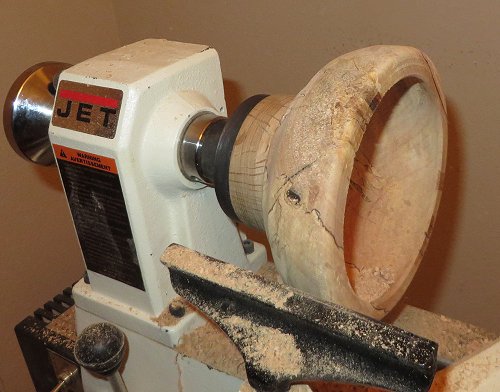
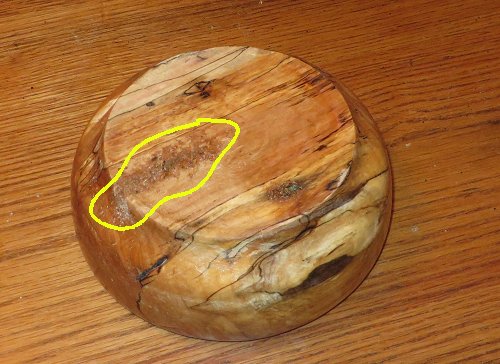
Closer examination shows a larger area is going to have to be stabilized.
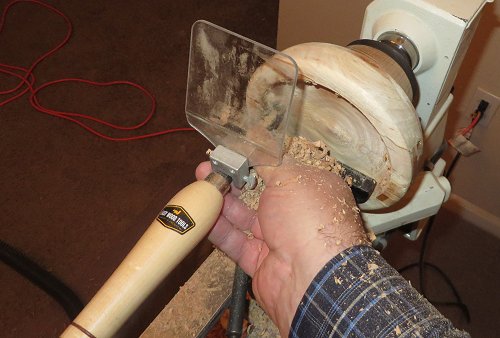
Easy Tools have a habit of kicking sawdust backwards. Buying the optional Lexan shield is highly recommended unless you like taking sawdust showers.
It doesn't take long to hollow this bowl out. It took no more than 10 minutes or so.
Those 'Easy Tools' for me are a real time saver. Not having to sharpen tools is a big plus.
80 Grit wave sanding discs are a good starting point for knocking off any high points.
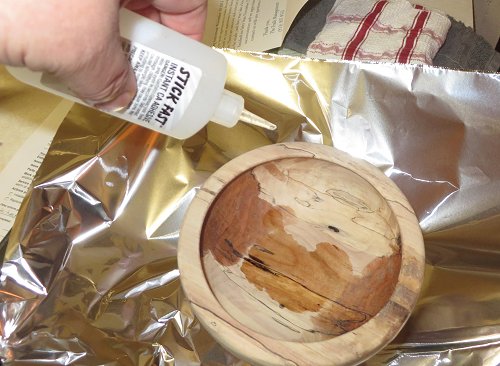
The first coating of CA glue is applied after rough sanding. The softer areas need strengthening and the rest needs to be stained a uniform color or the end result will end up looking quite strange.
Thin CA glue is the weapon of choice for penetrating soft wood. Medium CA glue will end up plugging areas you may not want plugged.
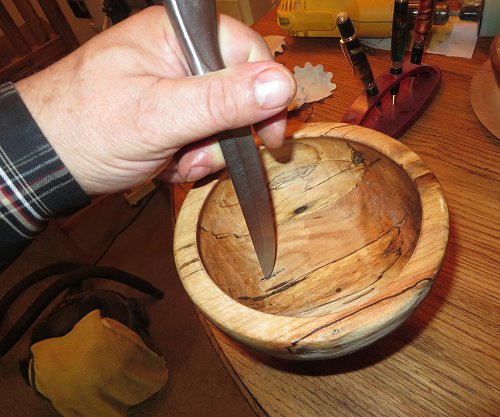
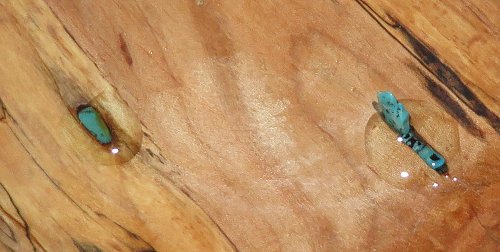
A sharp knife or a pick is used to peel out areas where inlay is planned.
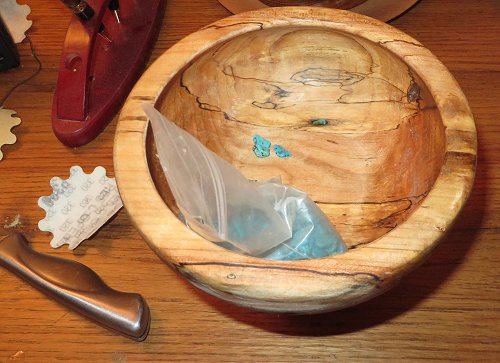
Rather than using Inlace, small nuggets of turquoise are used because offering bowls are supposed contain natural materials, or so I've read.
I tapped the nuggets in with the handle of a screwdriver, leaving a little on top.
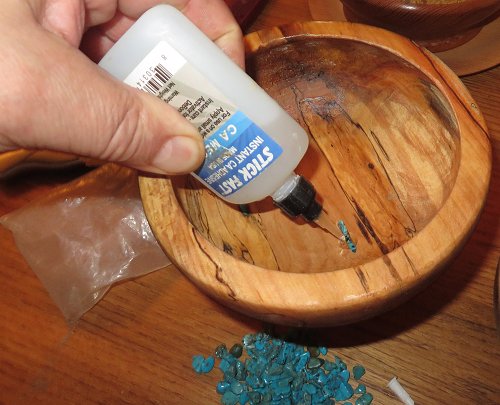
Medium CA glue is used to cover the stones and....
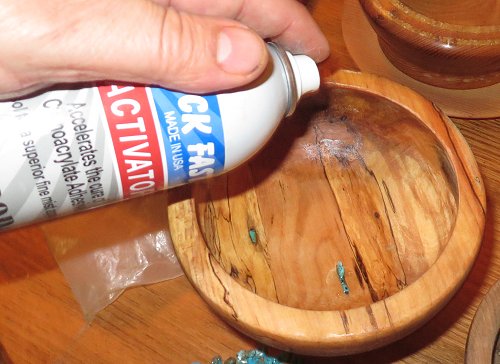
accelerant is applied to keep the glue from running - use just a little. Too much can cause CA glue to bubble and turn white. That makes for a very unattractive inlay.

This will dry overnight and the stones will get knocked down with 80 grit.
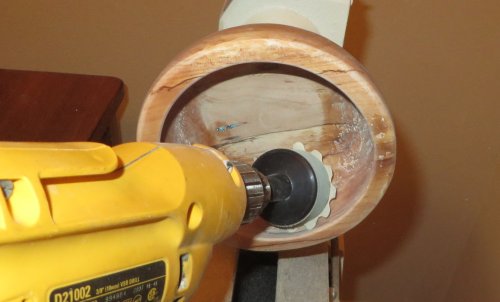
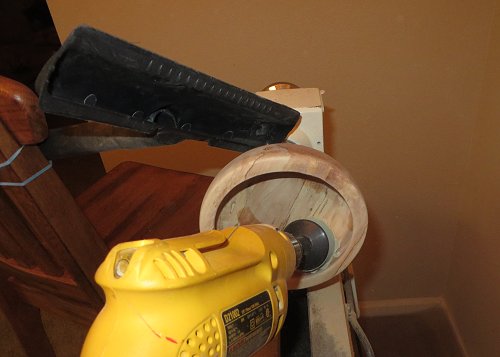
Wave discs are the way to go when sanding concave surfaces.
My custom dust control / removal system.
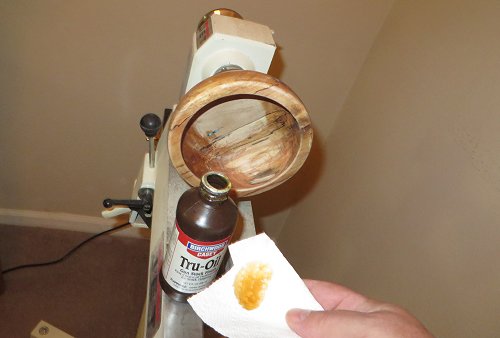
10 minutes or so later and sanded to 400 grit, the piece is ready for the first application of
Tru Oil.
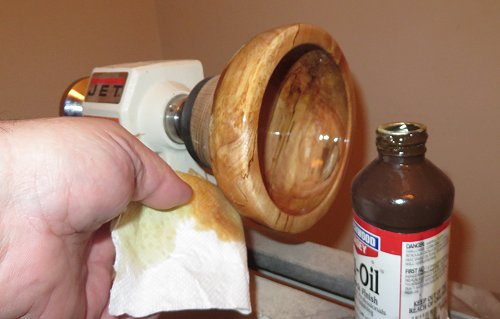
Tru Oil can be rather tricky to apply because it is so thin and applying it while the lathe is spinning has worked very well.
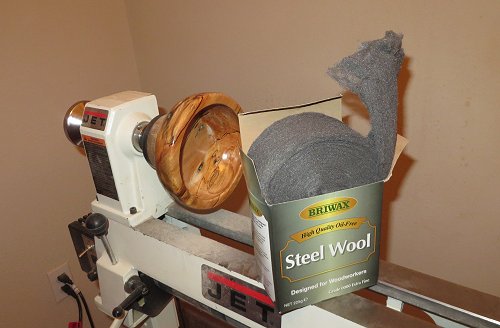
0000 steel wool works very well for evening out the finish. Two coats of Tru Oil, buff twice and the top should be done!
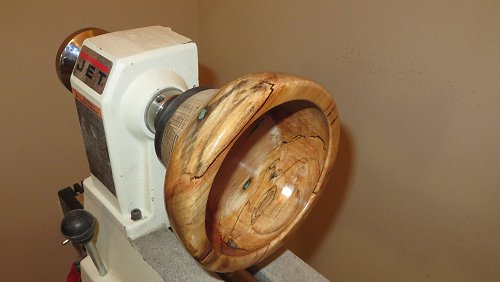
The second coat is really bringing the character out of the piece and it will take a couple hours to dry. Tru Oil does dry quickly as compared to other oil finishes.
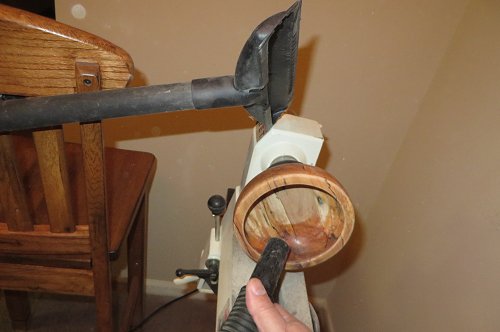
In the meantime, here is an example of effective dust control and cleanup for the apartment dweller from left to right:
A. Cheapo 5 gallon Shop Vac from Walmart with damp rag to catch dust from the exhaust.
Note: This is actually the way to do it if you think the cheap foam sleeve that comes with the Shop Vac is the only thing that you can use. I was wrong about that. These cheap Shop Vacs can also use standard Shop Vac filters, which eliminates the need for anything over the exhaust. I now know why the Shop Vac was so cheap - like Ink Jet Printers where the printer is cheap but they get you on the ink, a standard Shop Vac filter is 1/3 the cost of the Shop Vac itself and since Walmart sells things on the cheap...........oh well.
B Vacuum Extension which mounts over the piece and is supported by a couple rubber bands and a high-backed chair.
C. 4' x 6' industrial floor mat from Staples which cost twice as much as the Shop Vac!
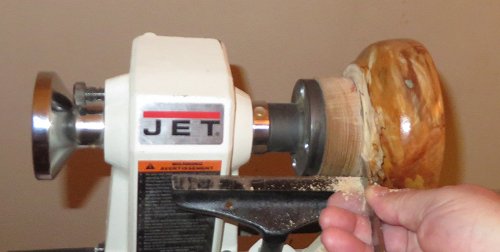
The finish is dry and now it's time to remove the bowl from the sacrificial block.
The parting tool is the only traditional tool I have left and that is sharpened using a diamond file.
Always save some sawdust to use as filler material. Pack it tightly into the crack and top off with some loose stuff.
Backfill with thin CA glue and let dry.
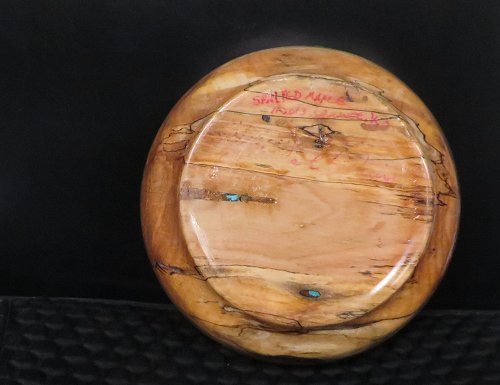
The end result looks good.
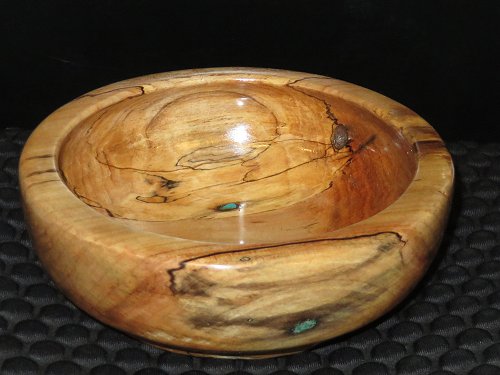
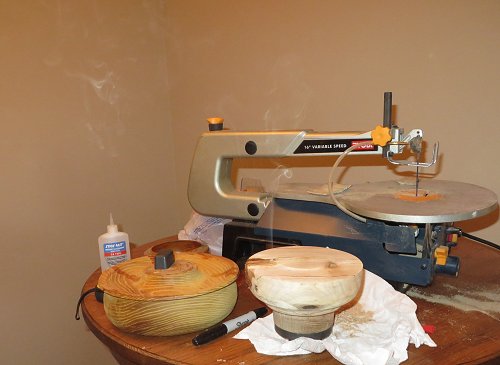
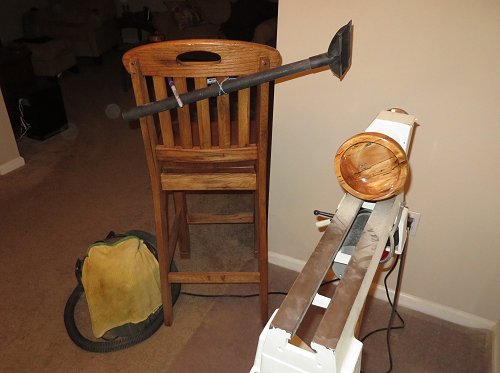
And here it is - one finished Offering Bowl ready to go to its new home.
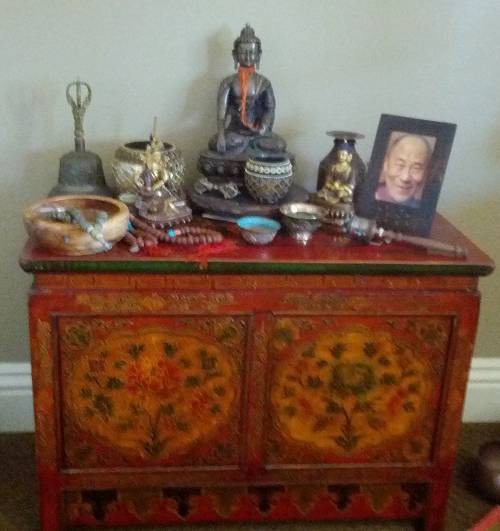
It fits in pretty well, I think. I like that cabinet.

General Comments on Offering Bowl construction.
I am by far no expert on this here is what I've gleaned so far:
1. The bowl should be constructed of natural materials, meaning a plastic bowl from Walmart is not an ideal choice. Natural, hand crafted and shaped bowls made from metal or other organic products are ok too but for this discussion, wood is the focus.
2. Hand-made is better than something off a production line.
3. The more natural the better in that if there is a choice between natural stone pebbles and crushed stone pebbles, go with the natural stone.
4. If there is a choice between solid wood and spalted wood, spalted wood is the more preferred way to go because spalted wood also has a mineral content in the spalting.
5. If you are grind to perform an inlay, make it a selective one and it should be intended as an accent, not the focus of the piece. Since the focus is on 'natural', leave some voids intact.
6. As to finishing, I would suppose Tung Oil or other totally natural oil would be preferred over Tru Oil but I don't need the penetration (CA took care of that) and Tru Oil would be preferred over a Varethane or Urethane spray. Tru Oil does have some natural components so that should work ok - the intent was there.
I suppose CA glue is not the ideal component but there has to be a measure of practicality to the endeavor.
7. Finally, it is nice if the picture tells a story.
For example:
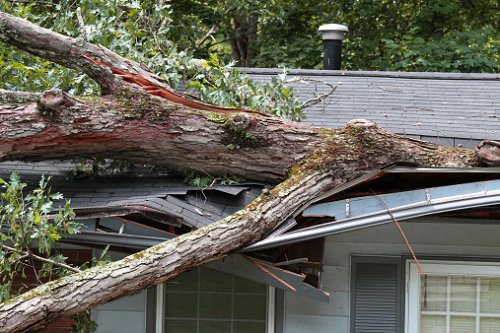
In 2009, Olathe KS one fine spring evening had a whopper of a storm - one of those ones where you look up in the sky and see clouds clashing together because the wind seems to be coming from all directions. The wind was soon followed by sheets of rain coming in sideways.
While not a tornado, these storms are severe enough to overturn semi's, down power lines and knock large branches off of trees.
The day after one of these storms is a great time to go to the limb dump and get nice chunks of wood. It's even better when one of those limbs fall across the street, blocking all traffic. A crew from the city came out and cut the limb into chunks in short order.
I walked over and had a look at the cut wood and saw several pieces that had a lot of spalting.

The piece circled made for a very nice larger bowl, as well did a few others.
After cutting everything up, I ended up with a box full of bowl blanks 6" and less in diameter.
Over the years I've used most of them but still have a few left.
Four years later, one of these pieces was used for the offering bowl and that I think, should fulfill the story part.