Turning Green Wood

Turning green wood has been looking more and more appealing lately.
Green wood turns easier, there is little dust and tools don't need to be sharpened as often.
You can also usually get it for free.

There is a downside of course.

Green wood is prone to splitting and warping during the drying process.
There are several methods drying green wood.
They include boiling, placing in paper pages, sealing with wax, micro waving and a few others. 

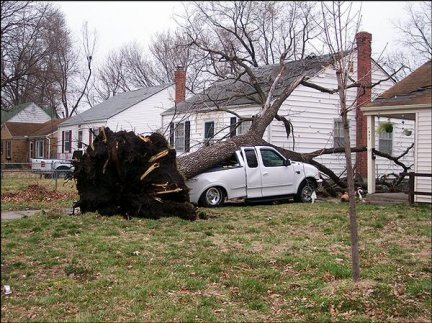
March of 2006 was a bad time for Lawrence, KS.

One day a number of micro-cells (mini really severe storms) trashed the town.

Lawrence Storm
 
I  went out to  to help a friend clear broken limbs from his roof.

This of course provided an opportunity to obtain some green wood. 

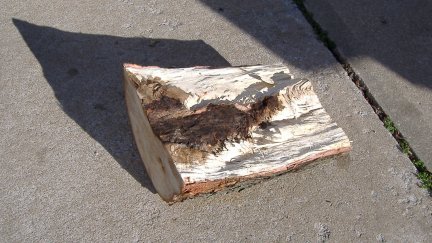
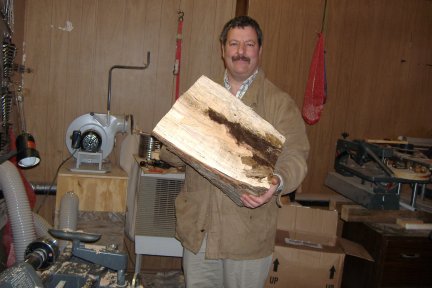
I found a large piece of maple to experiment with.


Turning Round 1

Turning Round 2

This looks like it will do nicely.

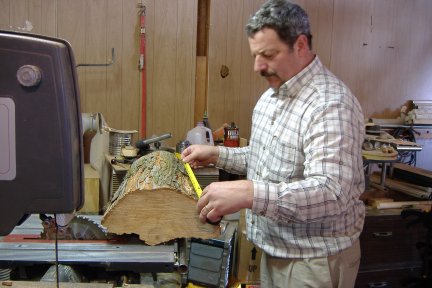
Measuring Turning Round

First we need to do some measuring.

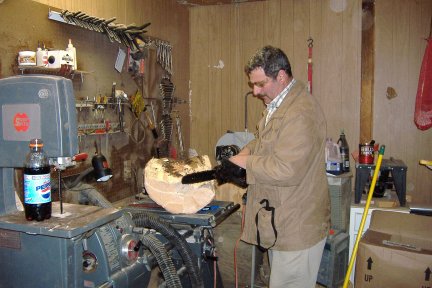
Chainsaw and Cutting Turning Round

Next the piece needs to be cut to a size that will fit on the lathe.
A small electric pole saw does the trick.


Faceplate on Turning Round

A face plate is mounted what I think is the approximate center. 
This attached to the lathe motor.


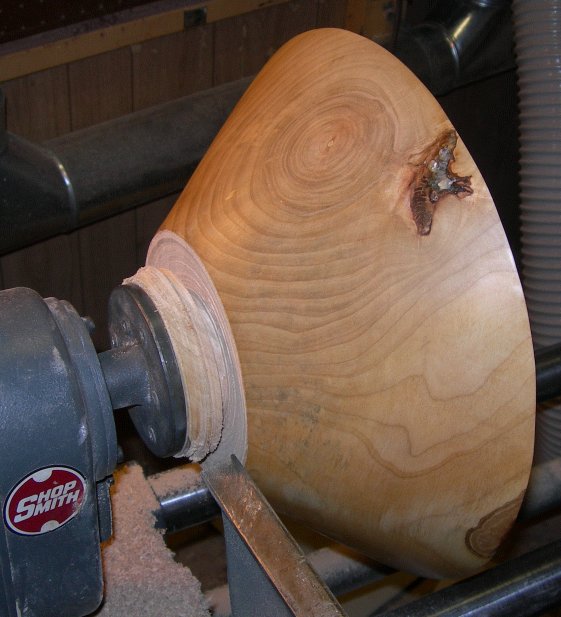
The bowl blank is now mounted and ready to turn.

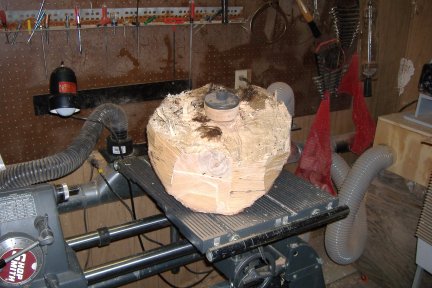
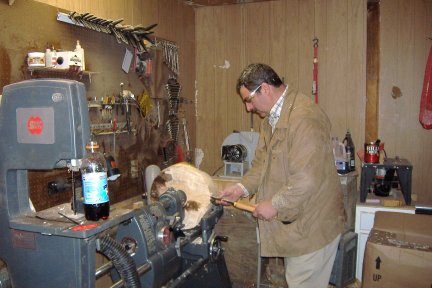
Turning Round

This is going to take a while to get round.
Green wood is heavy, the lathe is light and you have to go slowly.


Turning a round this out of center requires the use of a gear reducer.
Turning speed is less than 100 rpm.


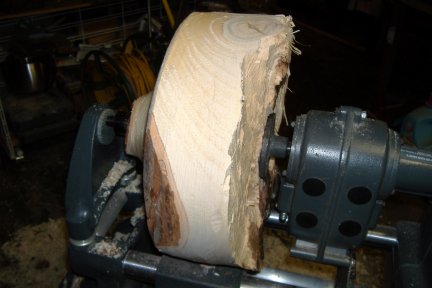
Day One Side of Turning Round

At the end of the first day there does was not much wood removed.
The second day should go faster as the round centers.

Day 1 Back Side of Turning Round

Turning round back side, end of the first day.

Back of Turning Round - Day 2

This is the end of day two. Turning is still going slowly.

Turning Round Bowl Side Day 3

The end of day three shows the bowl beginning to take form and work is progressing faster.

Day 3 Turning Round End View

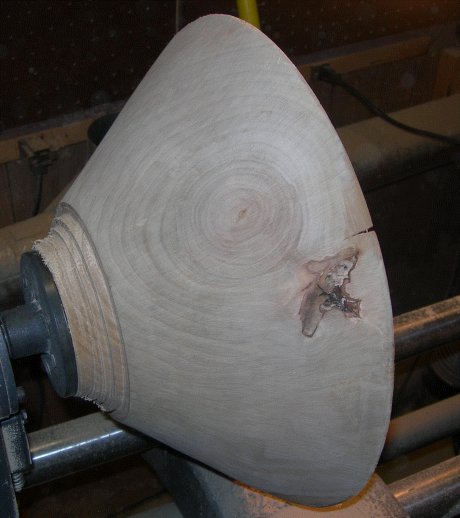
Future bowl at the end of day three, rear view.

Day 4 Turning Round Bowl End

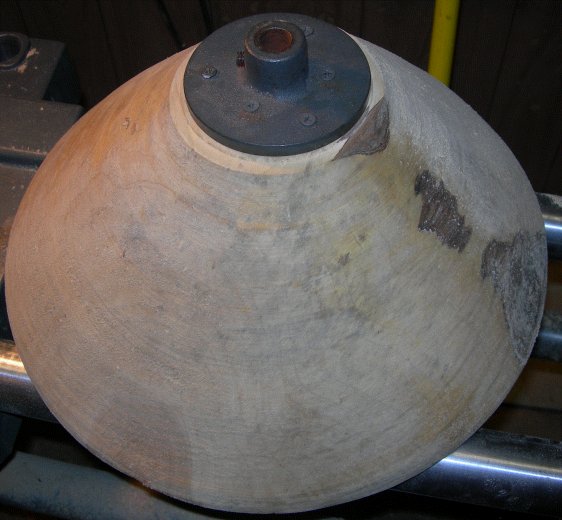
Day four has the outside contour of the bowl about where I want it.  
Turning speed has been increased to about  300 rpm.

Turnig Round Bowl Front Contour

The bowl is now ready to be hollowed out. As you can see, the contour is rather severe….
The turning speed is now just below the vibration stage.

Hollowing Turning Round

First I need to clean up the bowl surface. 

Defining Bowl edge

I then mark the bowl wall thickness using a parting tool.

Hollowing Bowl Edge

Now comes the fun part – hollowing out the bowl. Not real high on my list of favorite things to do.

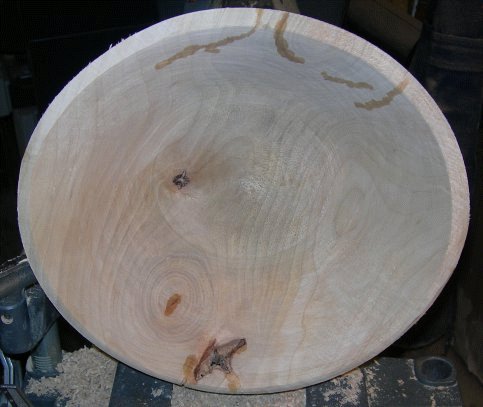
Inside Finished

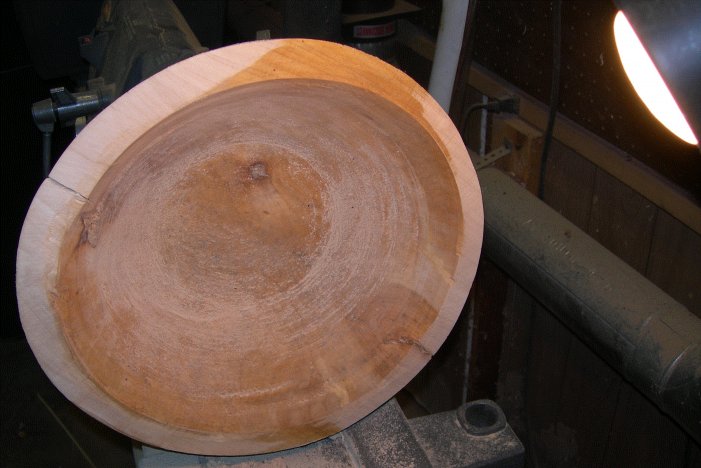
Inside of bowl finished for the time being.

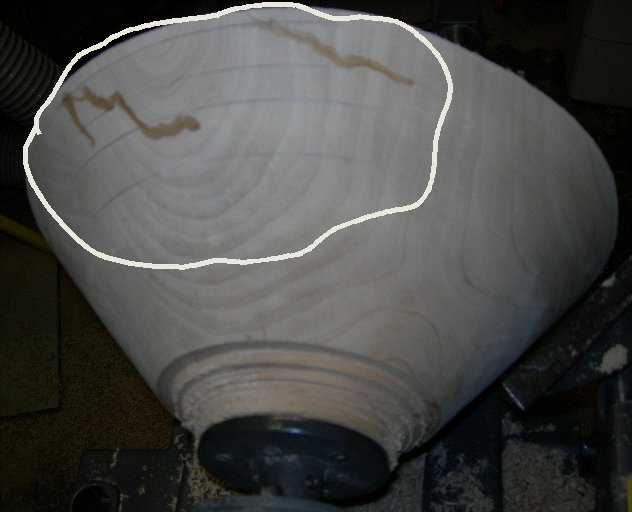
Outside of Bowl Finished

Outside of the bowl, rough finished and some bark left on for the artistic touch.

Tung Oil

The experiment  – drying the bowl. 

I decided to do something a little different to slow down the drying process. 

I coated the entire bowl with tung oil. 

The bowl was then sealed in a box filled with fresh wood chips. 

Box for Green Turning Round

Drying occurs at about ¼” a month. The bowl walls are 1” thick.

The bowl will dry from the inside and from the outside so I figure two months give or take.

I have no idea how well this is going to control warping. 

I’ll check back in a couple months.

Out of the Box

It's August 2006 and the temperature is finally below 80 degrees and bearable in the garage.

A good time to have a look at the dried bowl in the box.

It has warped a bit and there is a little cracking but it looks pretty good.
I wonder if the tung oil thing helped with warpage.  Certainly didn't hurt.
I did the same to a couple sweet gum bowls that are also in storage so we'll see.

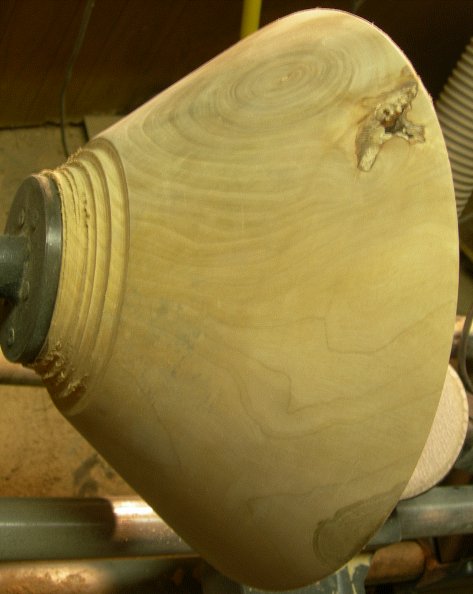
Sie View

Looking at it form the side, it appears there was some pretty good warping going on.
I've noticed that if you include heart wood it  ends up looking something like this.

Bowl Bottom

I think the first thing I am going to do is to remove the tenon and mount this directly to a faceplate.
I only have 2" jaws and I think it would be a recipe for disaster.
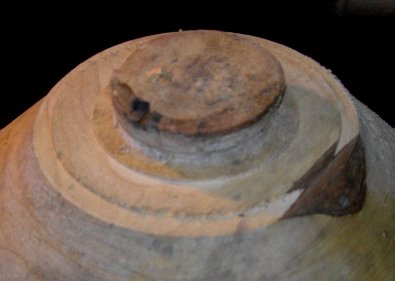
Cutting off the Tenon

I stuck the bowl on the lathe using the jaws  long enough to use the parting tool  to cut in
a round circle so that when I mount the faceplate, it will be close to center.
Faceplate Mounted

The faceplate is mounted and now it's time to see what kind of damage we can do.

Ready to Run

Turning Round Mounted on Lathe Video of a Rather Wobbly Bowl


Outside about done

An hour or so later the outside is as close to done as I want to get it.
It is sanded down to about 80 grit.

I decided to take about an inch off the bowl bottom to give it a bit more stability.
That and the fact that I am using 1 1/4"  screws through the faceplate.

Time to get the top level.

Starting on the Inside

I started by leveling off the bowl top.  There is now  approximately  1/2" difference between the thickest  wall and the
thinnest wall.  

The bowl diameter at this point measures 13 3/4".


Now to work on the bowl inside:

Day one Inside.

The inside is starting to even out.  I worked on that for forty minutes or so and then the garage started heating up.

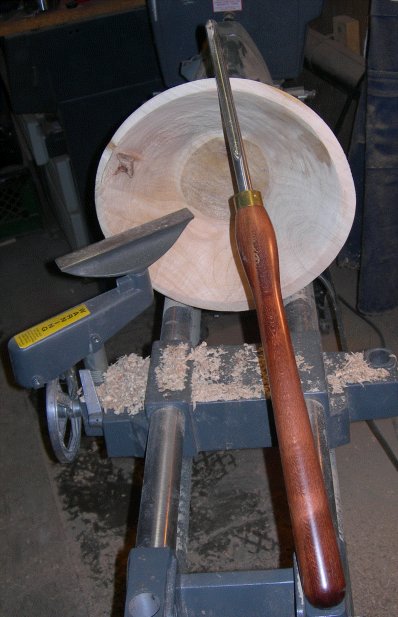
I had to take a picture of this tool.  It really is about as big as it appears.  It is a bowl gouge and has a very deep flute.  It provides me better stability  and control.  

It has taken quite a bit of experimentation to get the gouge  usage right, or more correctly, what is right for me.

I find that if I push the  tool down into the bowl walls I seem to have much better control and  a whole lot less stress.

It's kind of a challenge to sharpen though.

Distortion

The inside was turning nicely an then I ran into a bit of a problem.
There was about 1/4" difference in thickness at the bowl rim.
I couldn't figure out what was going on so I had to call in Butch,
my technical support adviser.

Turns out because I was turning at relatively slow speeds,
I was cutting more out of the softer areas than the harder areas.

At higher speeds that isn't so much of an issue. 

Distortion

I started the lathe and laid a pencil against several areas on
the bowl exterior and the high spots became visible.

This is going to take some work.  What you have to do is not
feed the tool into the wood but rather press in until you make
contact and then let it sit until you no longer have contact.

Then move a bit and continue the process.  It's always something.

I also noticed some minute cracks and applied CA glue to them.
Better a little prevention than having a third of the bowl fly
off when the walls get really thin.

Another Tip I learned is that if you are including heart wood (the very center of the tree or
branch) or knots,  apply some CA glue to that too.  Sometimes pieces of it will fall out
when turning and they can be a pain to find.

Outside

A day later the outside has the hump removed and is sanded down to 120 grit.  Most of
the bark I originally planned on having isn't there anymore so I'll have to thing of something
else to jazz the bowl up a little.  

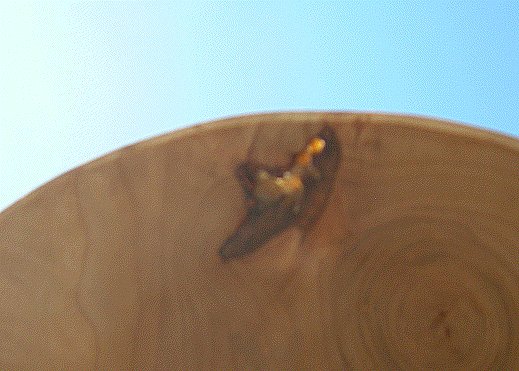
I also have to fill in the rotted section with something.  I don't think turquoise would look that t good,
considering the lightness of the wood.

Inside Sanded

The inside is sanded too but the bottom needs some work.  Sanding the bowl bottom while it is
rotating with an aggressive sanding disc didn't work too well.  Nice Ying Yang shape though.

There is another rotted area at the bottom that will have to be fixed too.

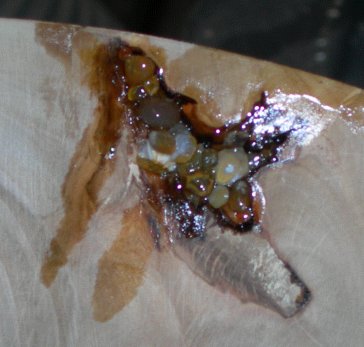
Agates

Well, I decided to make use of a number of small Oregon agates I found on the beach last year
as filler material for the rotted spots.  What I do with something like this is first glue in the larger
stones, using some tape as a backing.  I use the thin CA glue.

I then fill in the rest of the gaps using smaller stones and a bit of thin CA glue.  
Once the stones are set I use medium viscosity CA glue and let it set for several days,

Do not use accelerant.  This causes bubbles and and a filmy appearance.

Agates

Using agates turned out to be a bad idea.
Agate burns through sanding disks like a hot knife through butter.

Heat them up too much and they crack.
Too much vibration and they crack.

I finally found something that worked for taking them down - a cutoff disk.

I'm not going to do that again.  The agates you can see if you hold the bowl
up to light but other than that, this was an exercise in aggravation.

Ready for Cutoff

September, 2006

The bowl is ready to be cut off - finally.  The weather has cooled down quite  a bit.


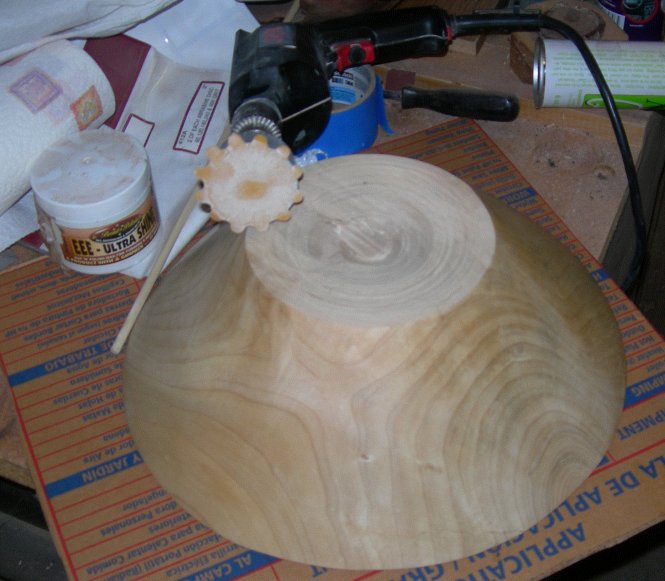
Sanding down the bottom.

I've changed my sanding strategy.  Sanding disks with wings, attached to a foam pad
on a drill is working quite well.  This type of sanding disk works well for concave surfaces.

As the disk speeds up, the wings fold back which helps prevent cutting into the bowl sides.
I just wish they were a little cheaper.  I wonder if they sell them on Ebay.

At the dining table

September 16, 2006

Not too bad of an end product and one that I am not anxious to duplicate in the near future.

Return