Walk into
Woodcraft store and
have a look at the prices for pen blanks. Pen blanks are not
cheap and depending on the type of wood, you can pay $10.00 or more for
one blank.
In my experience making a pen out of a really special and
expensive kind of wood most times does not mean that much
to the person you made it for - other than the fact
that you made
it, it is made out of wood and the wood has a nice
pattern.
So, if that is the general rule, why pay the big $$ for pen blanks when
something from the urban jungle would do just as well.
One reason is because these types of woods generally don't have much in
the way of pattern or color. That is a pretty good reason.
Another reason is this kind of wood is usually green. Green
wood
shrinks, splits and if you are looking to make a pen tomorrow,
you might be out of luck. That is another pretty
good
reason.
There is a solution.
|
 |
The first thing
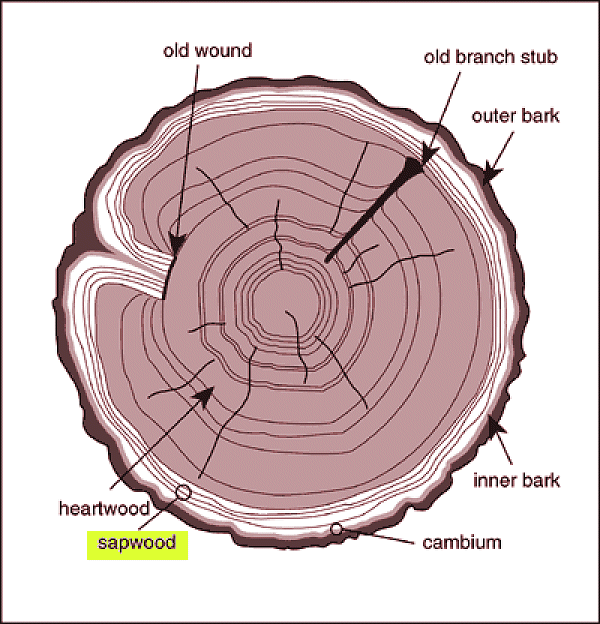
to do is locate some wood which has a
thick
sapwood layer - around an inch or so, about the
approximate
diameter of a pen blank. This is not absolutely necessary but if you
wish to make a pen out of cross-cut wood and want matching pieces, it
should be close. We are interested in this to get a good
color
variation.
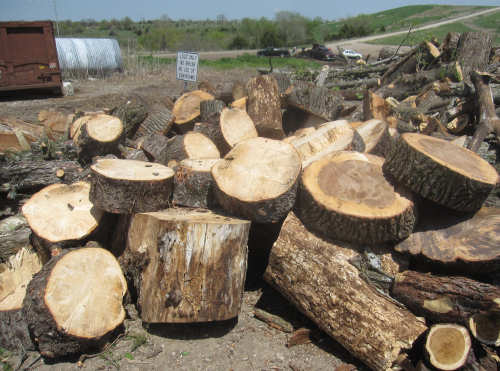
There are lots of places to obtain green wood:
A call to your local arborist

The Dump

Tree Cutting after storms

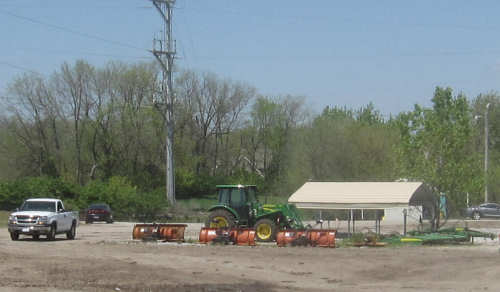
Find out when utility companies are trimming trees - they usually have
an easement.
Your own back yard
Fire wood suppliers
|
 |
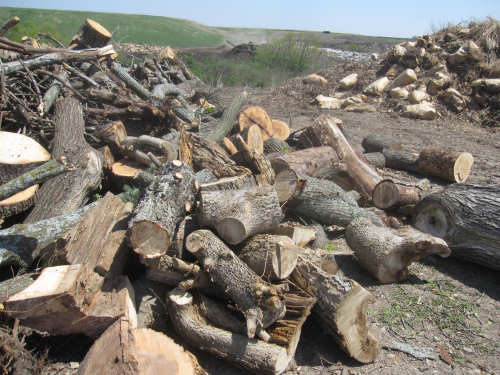
Utilities were clearing branches from
power lines and
this chunk came from refuse pile.
It is about the right size and has a nice, thick sapwood layer. The
interior is quite dark, which should make a nice contrast. |
| Cross-Cut Blanks |
 |
| The first
order of business is to cut a chunk roughly
the
length of a pen blank. Always leave it a little long because
the
blanks will shrink when dried. |
 |
| For Cross-cut pieces, try to avoid the
innermost rings.
The
further you stay away from them, the less likely the blanks are to
split in half. |
 |
| The first order of business is be safe and
cut a flat
spot.
This will keep the wood from turning if you are using a band
saw. |
 |
| Cut the pieces a bit thicker than a dry
pen blank |
 |
| Outline the blanks using a good, thick
pencil or
pen. Try to stay away from the center. |
 |
| Cut the outermost edges first.
The reason for
this is
to draw the blank as far away from center as possible when making the
inside cuts. |
 |
| Set up the band saw to cut an 1/8" or so
wider than the
usual pen blank to account for shrinkage. |
 |
| Make the interior cuts. |
 |
| Square the rounds. Have a look
at both all
sides of the
blank and determine which sides will give you the most white and then
trim the opposite sides. |
 |
| I generally
mark matching pieces with something heavy
like a grease pencil if I want a matching pen and pencil set. |
 |
| Square off the ends and set aside. |
| With the Grain |
 |
| Figure out which position will give you
the most white
and then cut a flat spot. |
 |
| Make a series of cuts which gives you
about half white
and half dark. A piece this size will require about four cuts. |
 |
| The pieces in front and on the left will
be used for
blanks. The upper right piece is the center of the branch and
is discarded. |
 |
| Use a pen blank as a guide to figure out
where to cut
and produce a full sized blank. |
 |
| In an ideal world, the center should be
half white and
half
dark. Bear in mind the diameter is going to be considerably
reduced when turning a pen. Too much of one color or the other and you
can end up with a mono colored pen. |
 |
| These are cut to size. Some of these may
be discarded
but who cares, it's free wood anyway. |
| 45 Degree Cut |
 |
| 45 degree cuts produce some interesting
effects.
Try turning one of these before a 90% cut. It gives
you a flavor of turning against the grain. |
 |
| It is
difficult getting an entire blank from 45 degree
cuts. Keep the short ones and match them up for more
interesting effects. You waste a lot of wood doing
these cuts but it's free anyway. |
| Drying |
 |
There are many
methods for drying green wood.
I prefer the microwave method.
Word of warning:
Unless you have a very understanding significant other or a microwave
out in the garage, it is best to do this when the spouse is
out of the house.
I take about 20 blanks at a time and microwave them on Defrost (strong
emphasis on the word Defrost)
using a 2 lb setting, or for about 14 minutes.
Keep an eye on the blanks. Catching them on fire is not a
good thing.
|
 |
Remove the blanks when time is up and lay
out so all
sides are exposed. Let them cool for half an hour or so.
Wipe out any accumulated water in the microwave tray.
One of the drawbacks to using a microwave is microwaves are supposed to
keep moisture in, not out.
Repeat the process two more times.
Note: All microwaves are different so test times and settings
carefully, erring on the side of caution.
After nuking the blanks three times, I set them aside for a week or so
and then determine whether or not they need to be nuked again.
Some people use a gram scale when in a rush. They nuke the
blanks until there
is no difference in the last two weight measurements.
Two blanks can easily be dried in a couple hours. Two blanks
work out to about 30 seconds on the defrost setting using .5 pound
defrost weight.
I think it is best to wait for at least a few days to let the blanks
stabilize out with the environment.
|
| Four Days Later - A bit about
Cross-Cut
Blanks |
 |
Here are a
couple cross-cut blanks.
Rule #1 is ensure your tools are really
sharp.
Rule #2 is prepare a couple extra blanks as spares. It is
very easy to tear one of these up when getting close to the finish line. |
 |
| Trimming the
edges on the band saw before
starting is quite helpful. |
 |
| I have found
setting the guide normally when turning
cross-cut blanks is not the best idea. |
 |
This is what
typically seems to happen with a normal
guide setting. What I do is raise the guide to where you are
more skimming off the top and angling down a bit with the tool - kind
of like you would when using a skew chisel.
The other reason for seeing this is using a dull tool.
|
 |
Raising the guide really helps.
No disasters
yet.
Time to sharpen the tool again as preventative measure
against a blank flying apart. |
 |
I always use a sanding block when dealing
with woods of
unequal density.
The sap wood (white) will sand down faster than the heart wood.
A sanding block helps equalize the pressure. |
 |
 |
And
here
are the results
Set1:
Top Pen Blank -
With the Grain
Middle Blank -
45 Degree Cut.
Bottom
Blank -
Cross Cut
Last Pen:
This comes from a
couple chunks
of wood I found with the other ones. The bark was silvery
gray
and the wood itself was more white than anything. I started
cutting it up and was rather surprised to find this kind of
semi-spalted patterning.... and I have about ten pounds of the stuff.
White Oak?
All are sanded to
400 Grit and then finish sanded with EEE.
Polish: Mylands High Build Friction Polish |


